How to Field Dress a Deer in Under 5 Minutes
by Elevation Equipped on November 13, 2020
Understanding how to properly field dress an animal is an important aspect of hunting. Field dressing is a necessary reality that is part of the harvest. It is vital to preserving the meat and also makes transporting your game easier.
Field dressing, also referred to as “gutting”, sometimes is confused with field processing. The latter is often necessary when larger game species are harvested and can’t be removed from the field as a whole carcass. When it comes to most whitetail hunts, the necessary amount of field dressing can and should be limited to the removal of the stomach, intestines, and liver.
The remaining soft organs can be removed during the skinning and processing of the carcass. With some practice and repetition, field dressing a Whitetail deer can be completed in just a few minutes, using only a small gutting knife and a plastic sleeve or glove.
Here are the steps to take to get your deer field dressed and to the skinning shed in short order.
Come Prepared with the Right Tools
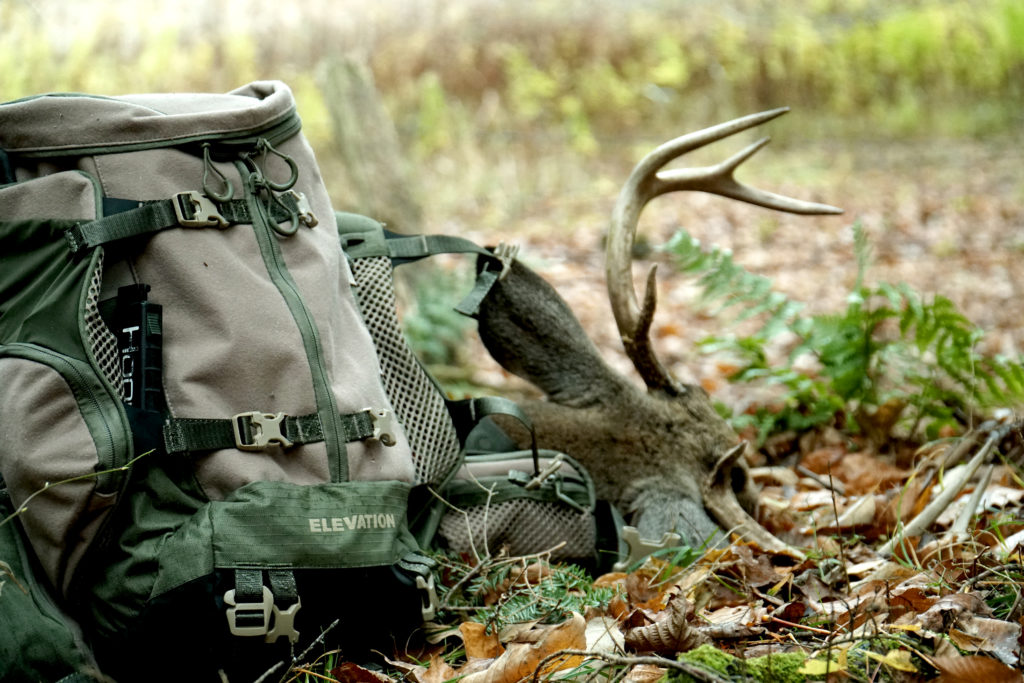
As mentioned at the beginning of this article, field dressing a deer doesn’t require a lot of equipment. However, having the right equipment in your pack will make the task a great deal easier.
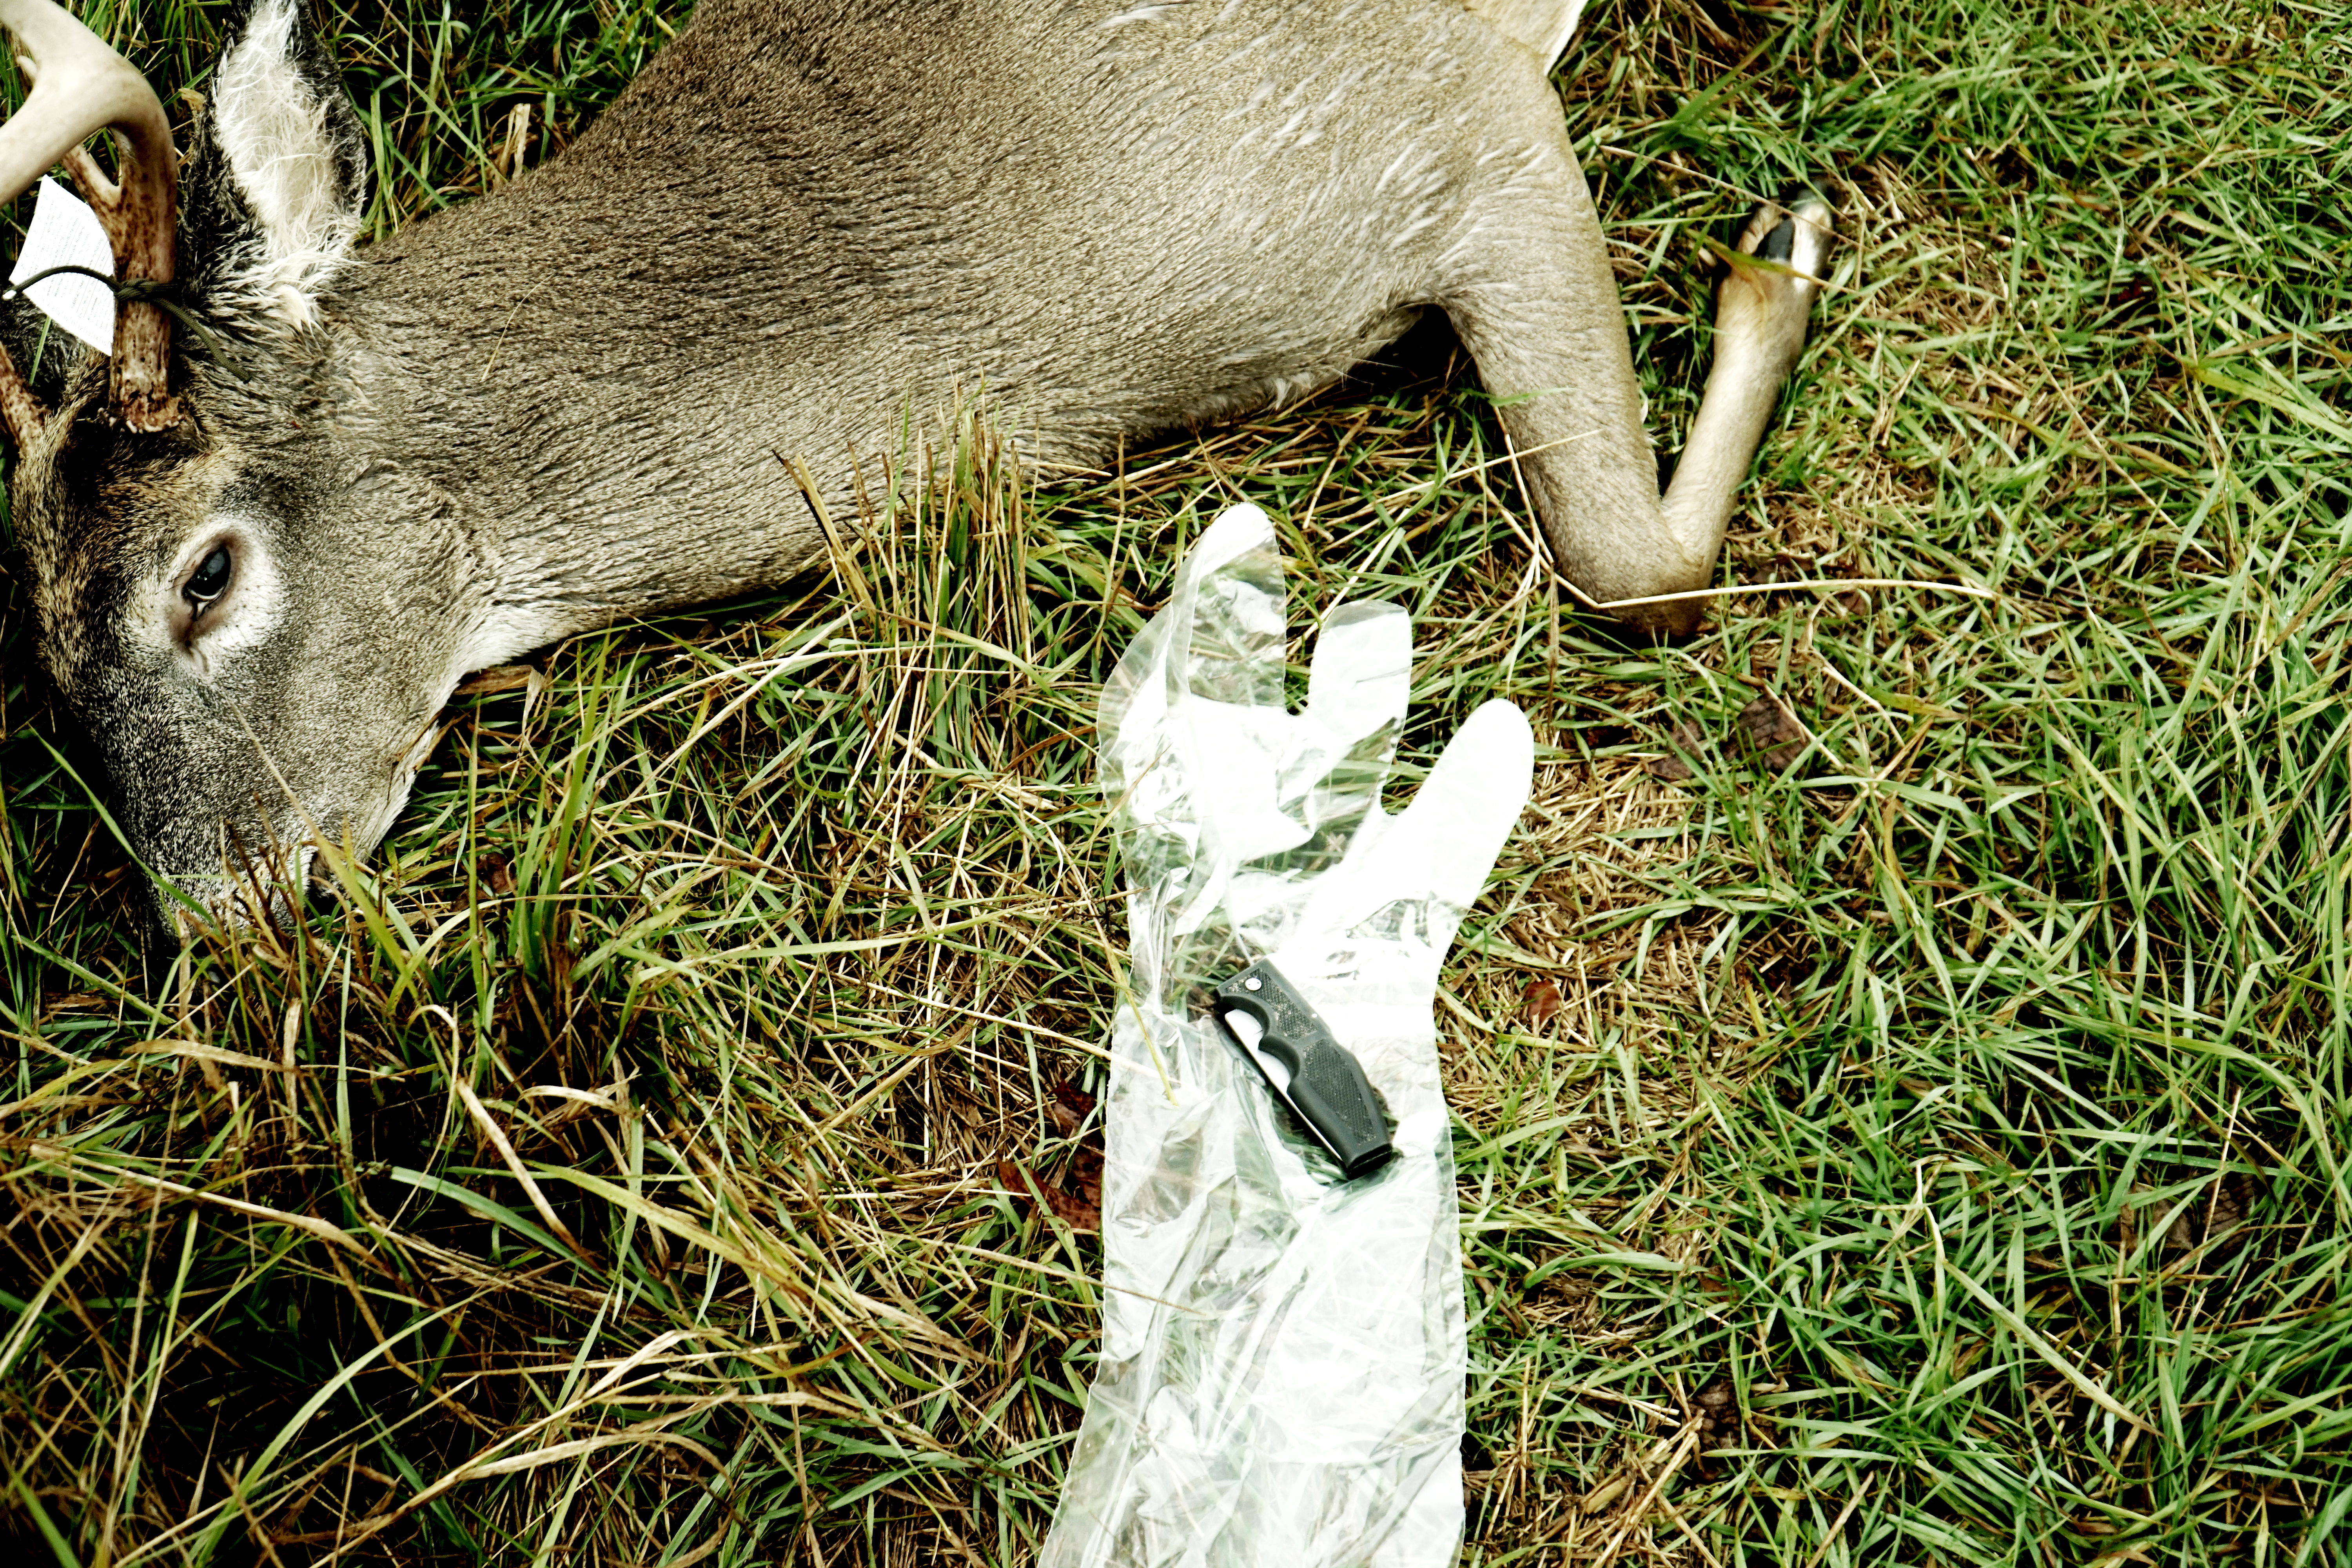
The most important item you should have with you is a sharp knife. A gutting knife with a blade approximately 3-4 inches in length is the perfect size.
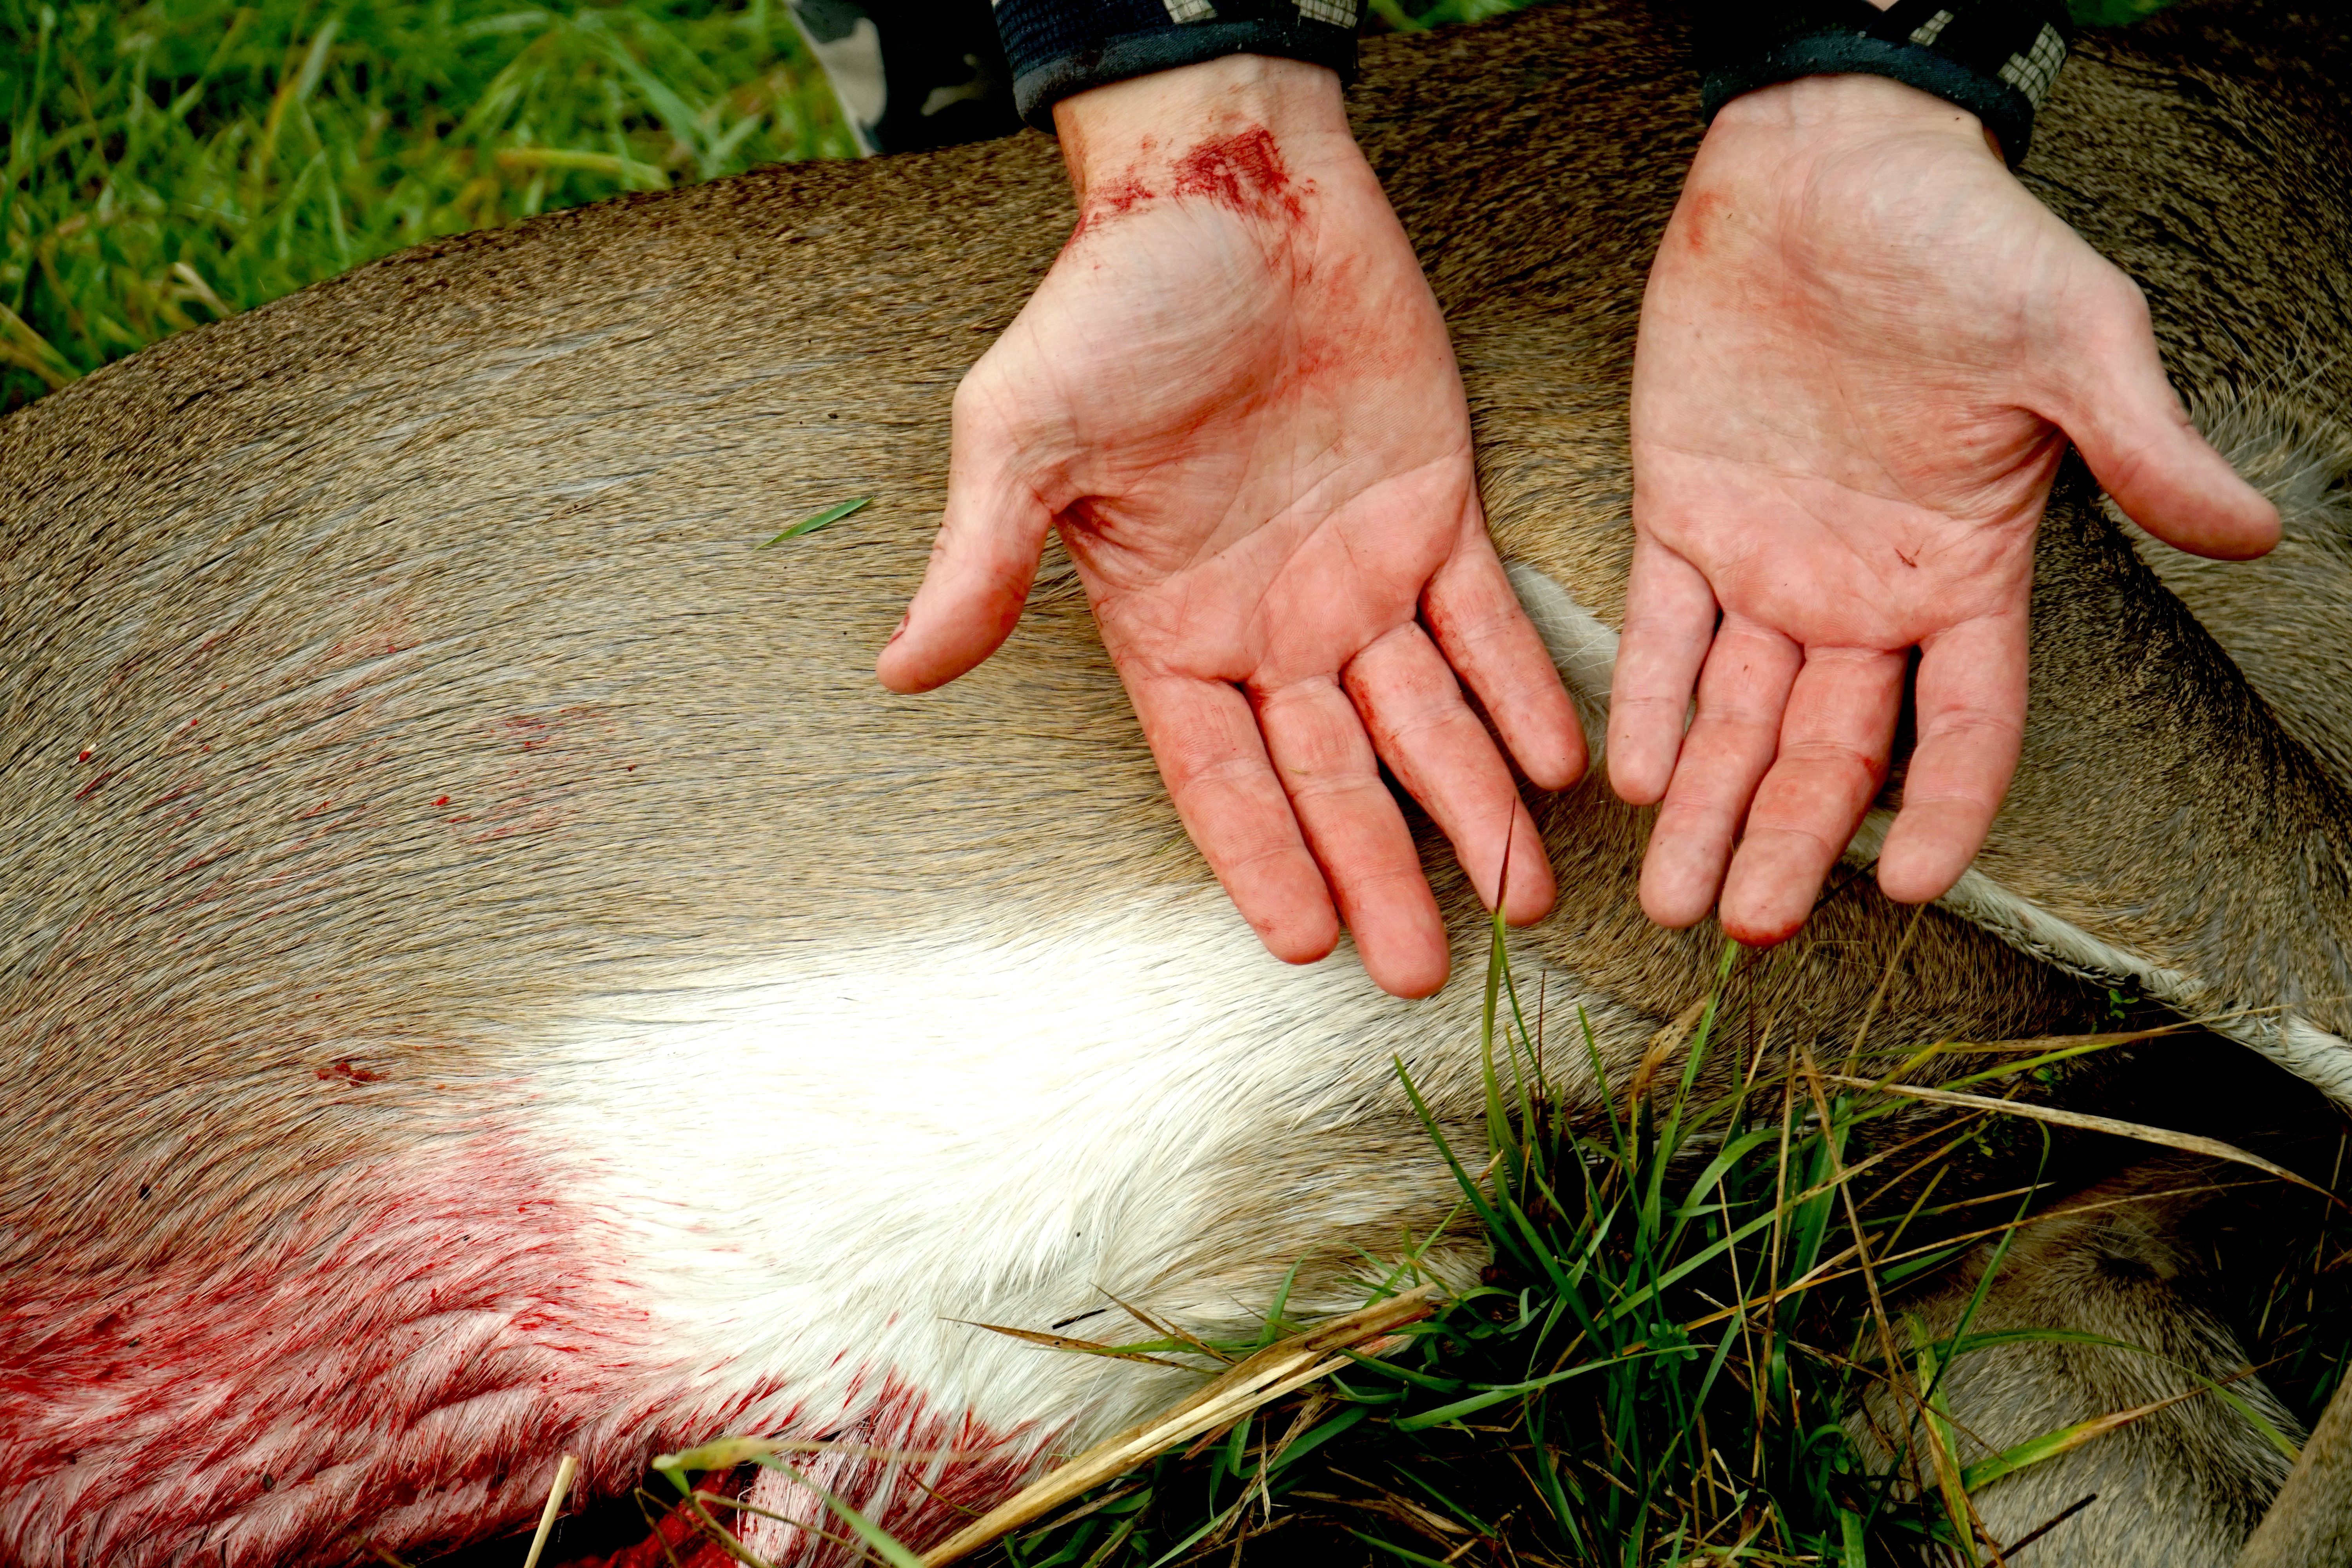
The other piece of equipment that is good to have on hand is a plastic sleeve or glove. If you aren’t as experienced in field dressing a deer, it can be a good idea to use a plastic sleeve on both hands.
However, your dominant hand, which will be the one holding your knife, should not come in contact with much blood or the entrails of the animal. As you get more efficient with the process, you can get by with using a glove only on one hand.
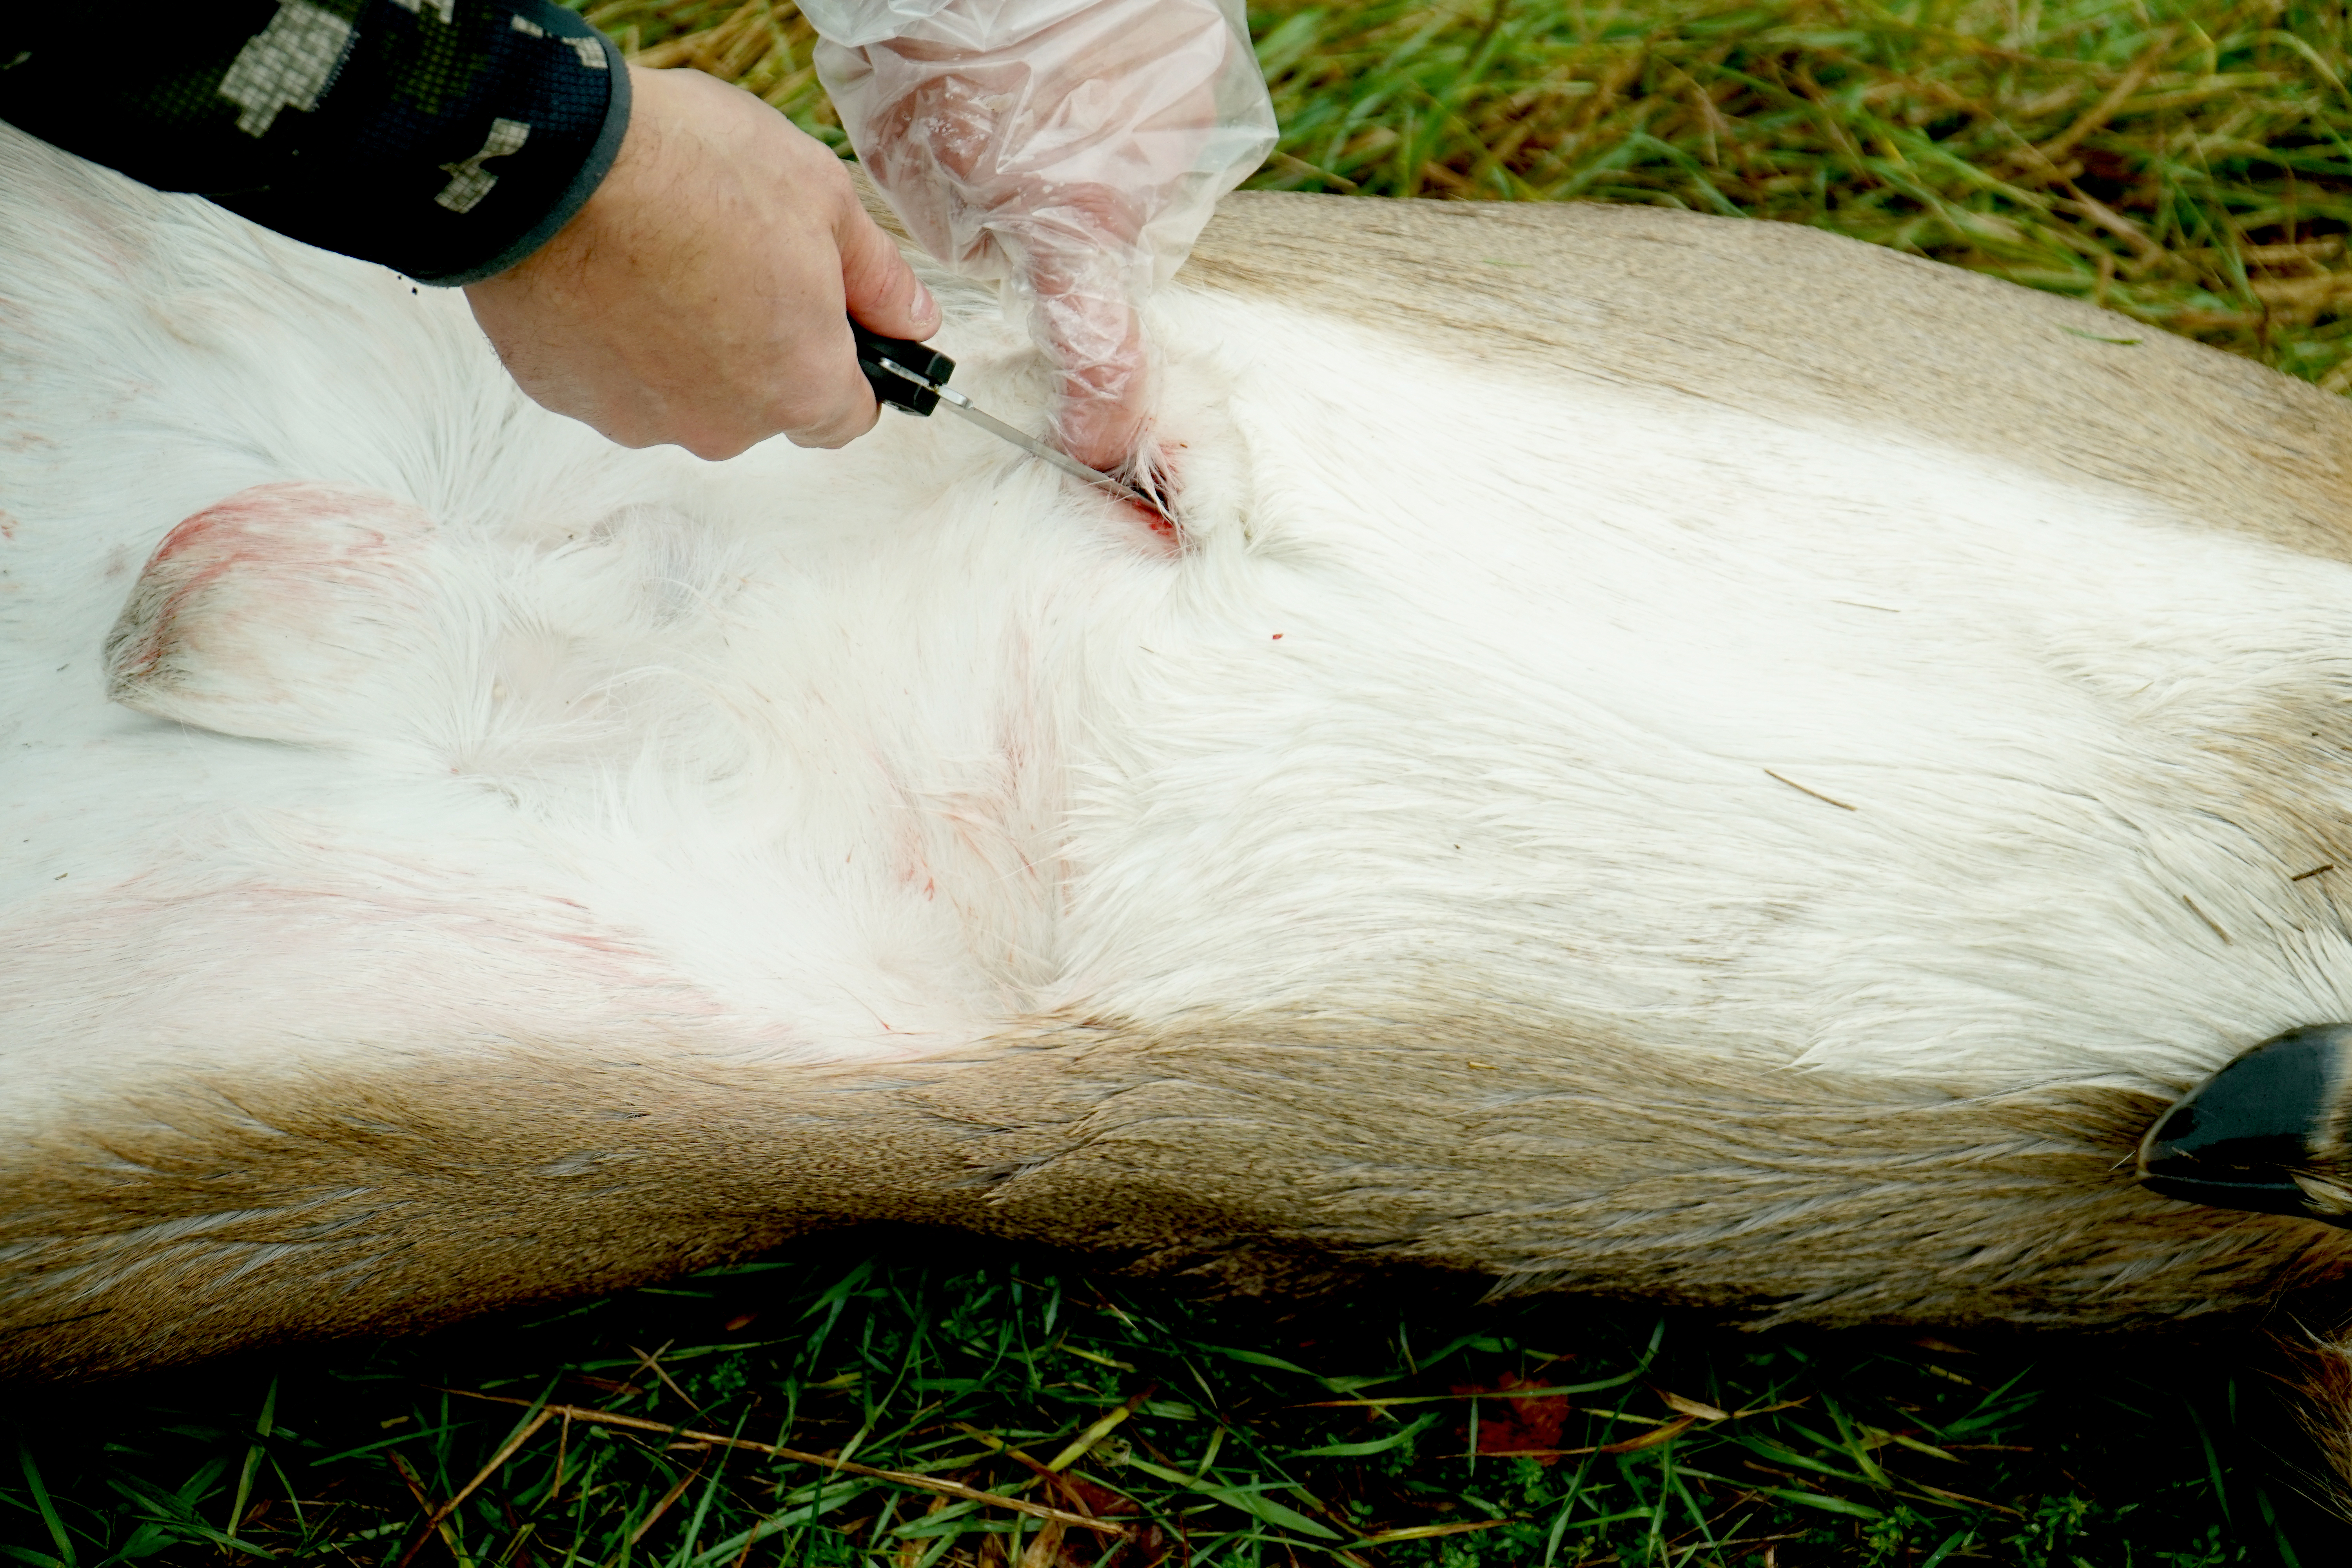
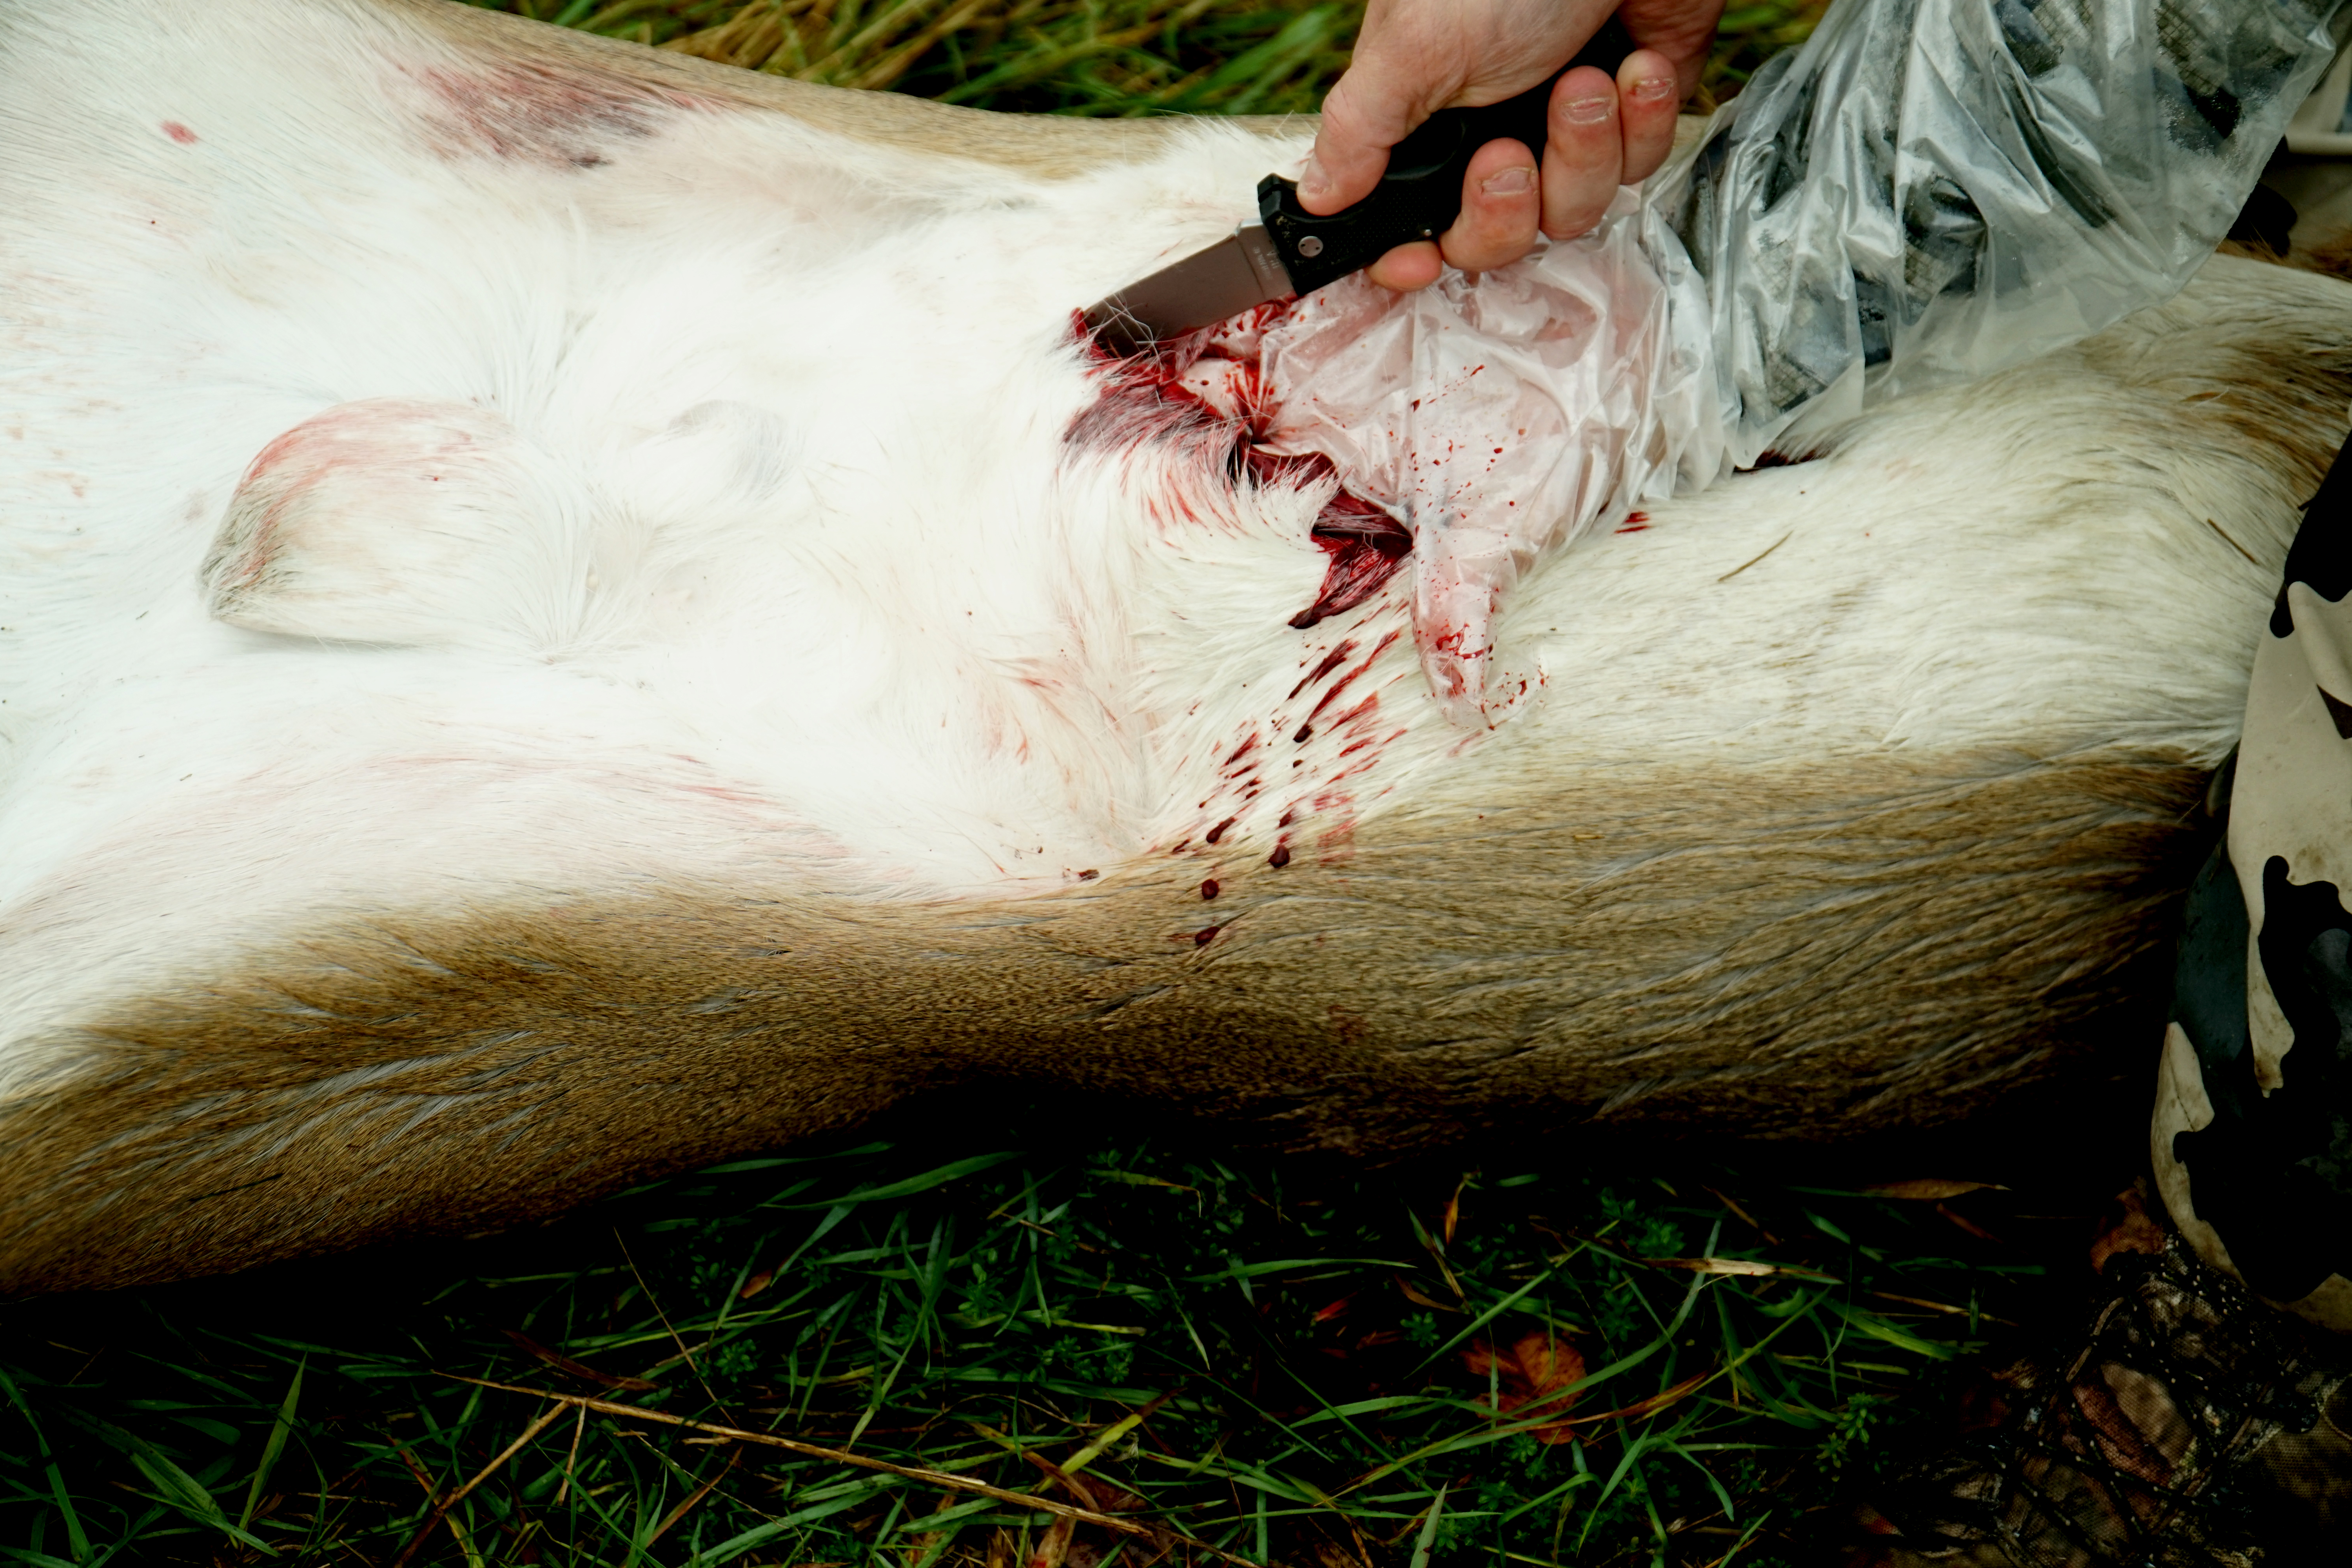
Open the Body Cavity
Roll the deer onto its back so that the stomach is not pushing against the hide. Grab ahold of the hide with your gloved hand and make a small incision in the stomach with your knife.
Keep your knife in an angle the is parallel with the deer’s body, rather than cutting deep into the stomach, to avoid slicing the actual stomach and intestines of the deer by accident.
This will help to keep the job of gutting the animal much cleaner. Make the incision large enough to insert you index and middle finger under the hide and abdominal muscling of the deer’s stomach.
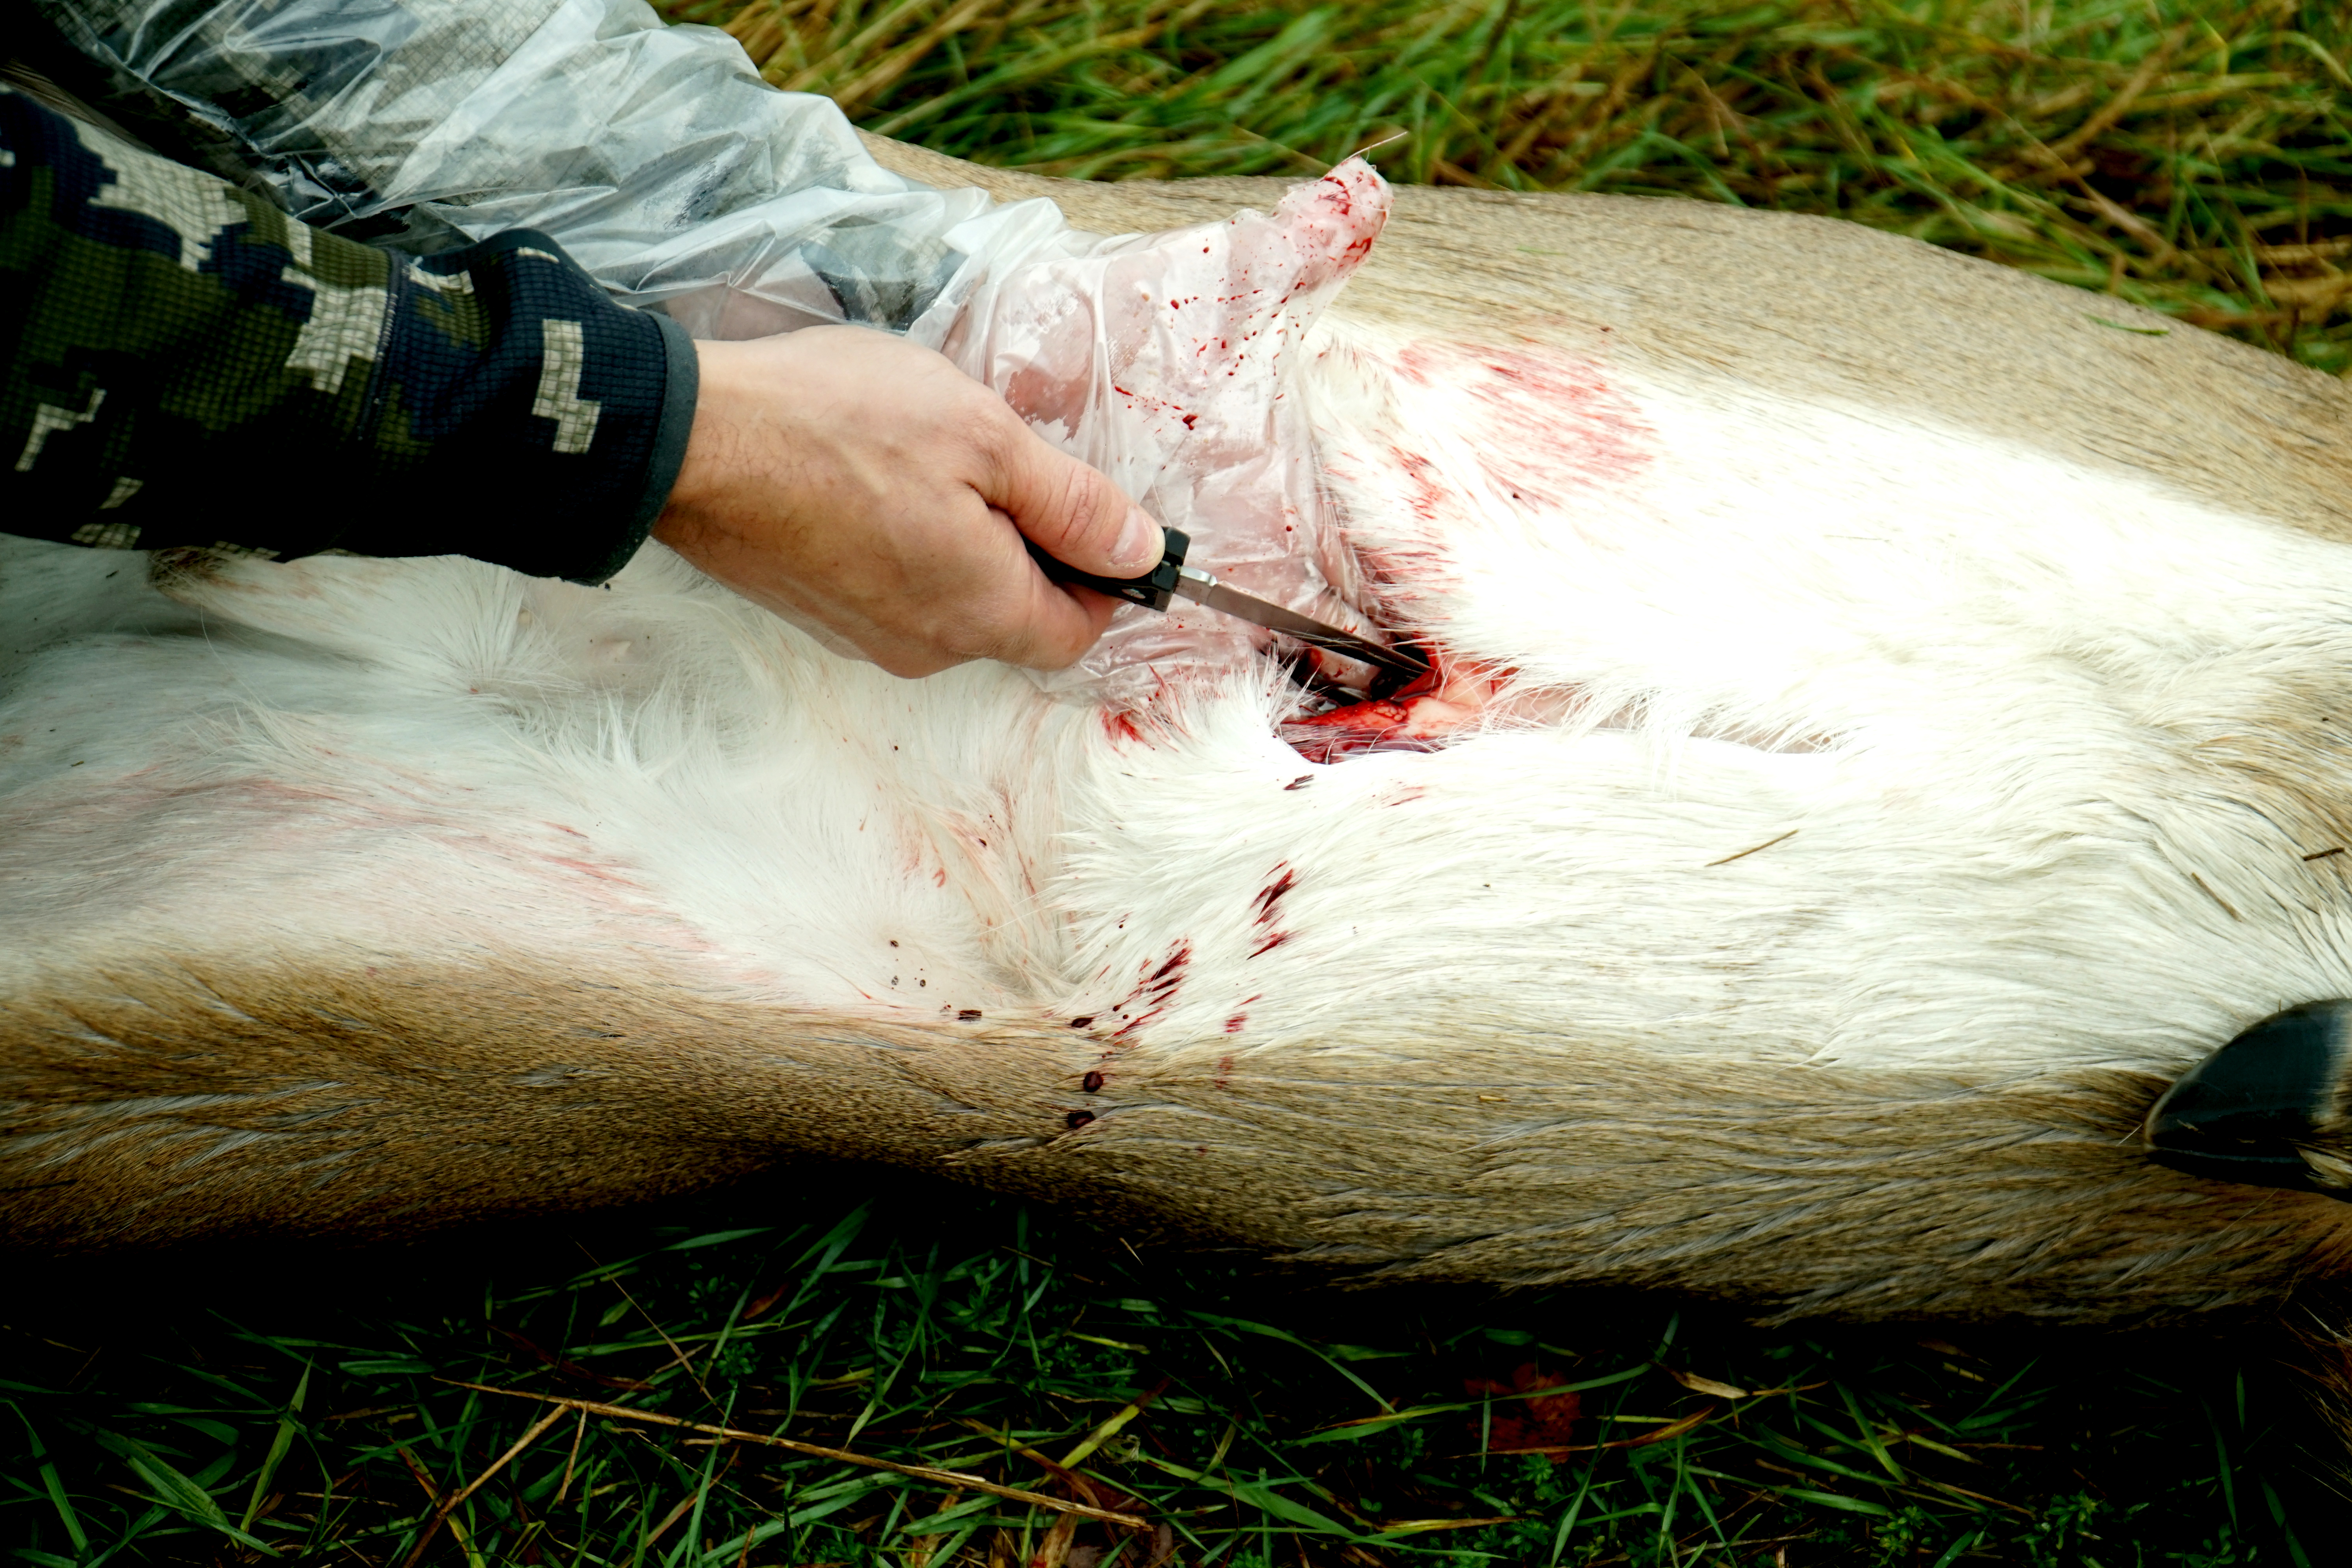
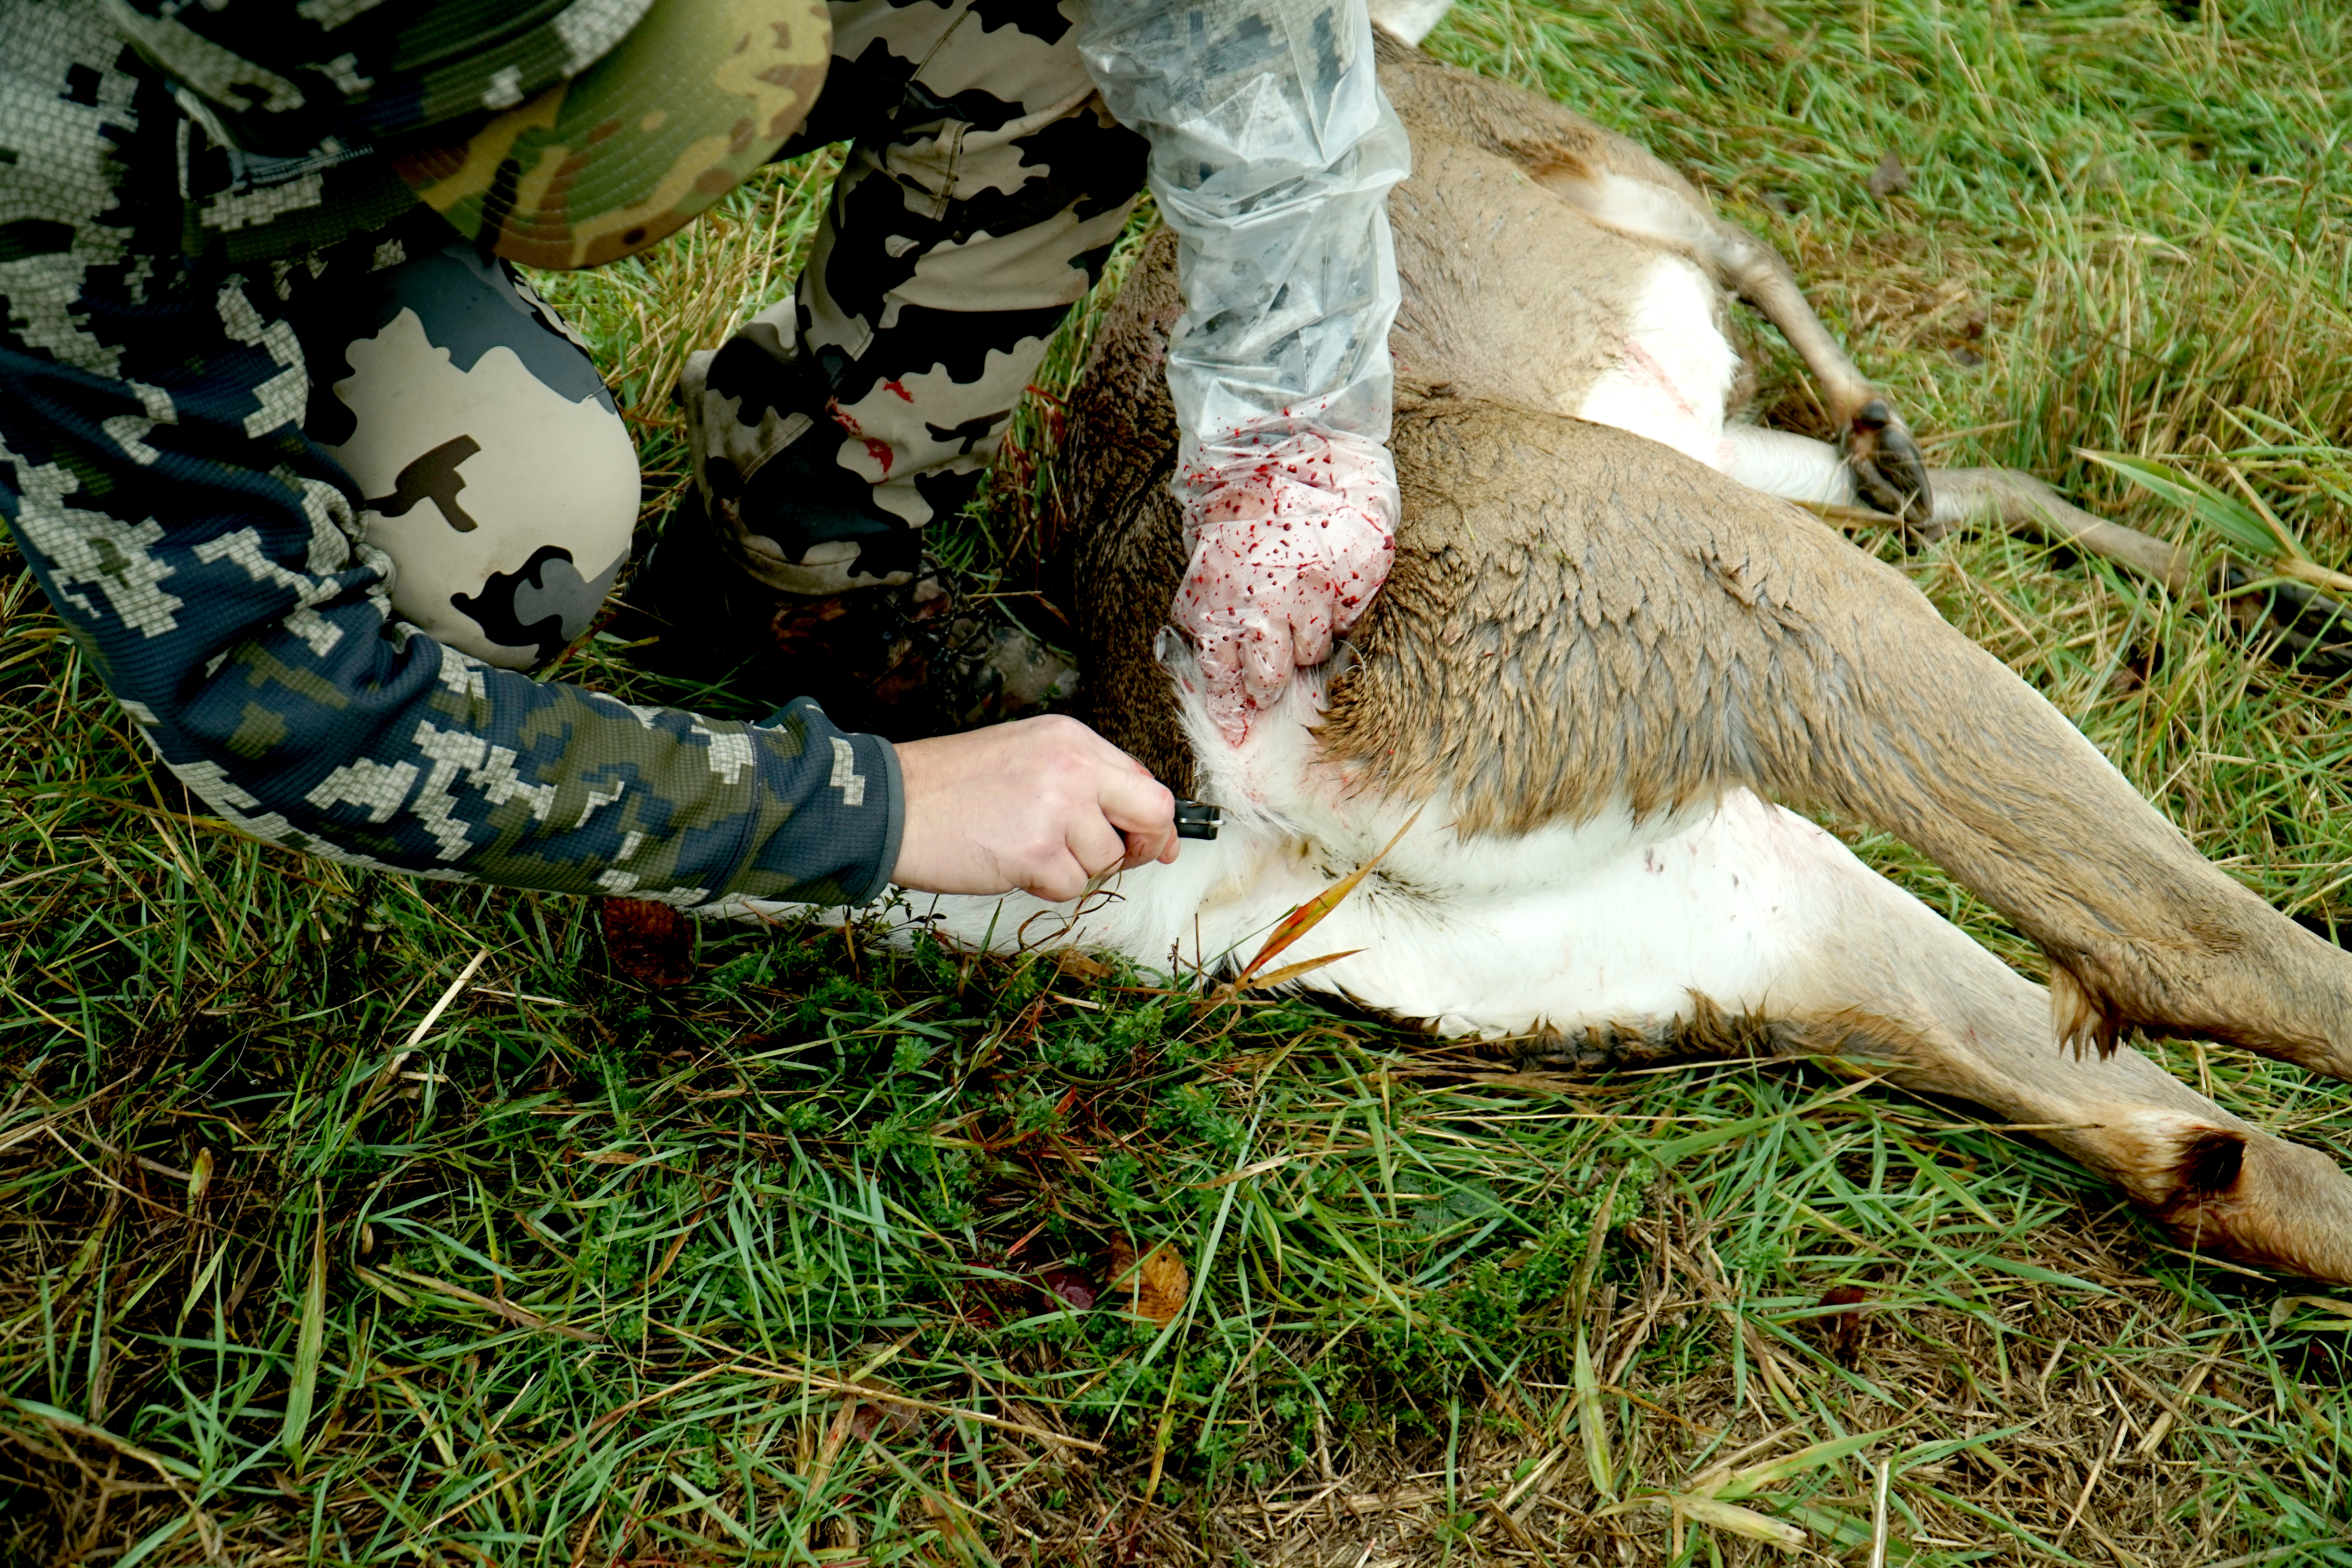
Lengthen the Abdominal Incision
With the deer still on its back, use your index and middle fingers of your gloved hand to life the deer’s hide and abdomen away from the internal organs and use your knife to open a larger incision on the abdomen.
Lay your knife between your fingers so that the blade is facing up and away from your hand. This will allow your hand to keep the stomach organs away from the tip of the knife and open up the abdominal cavity of the animal much like unzipping a jacket. Many people cut further than is needed and open up the animal from throat to tail.
If you’ve harvested a nice buck and plan to get it mounted, cutting the deer up through brisket will ruin the cape. More importantly, cutting through the sternum in the field is time-consuming, unnecessary, and quickly results in a dull knife.
Moreover, it opens the body cavity of the deer to a great degree and makes it more susceptible to accumulating dirt and other debris from the woods during a long drag to the truck. Create an incision to the base of the deer’s sternum, and then turn around and cut the hide to the pelvis.
Make a Second Incision at the Back End of the Deer
Just as there is no need to work up a sweat cutting through the deer’s sternum, there is no need to cut through the pelvic bone of the deer. Instead, make a second incision by cutting 360 degrees around the rectum of the deer.
If you harvested a doe, you will make your incision around the deer’s vulva as well. You will want to make sure you follow the perimeter of the pelvic canal with your knife, cutting as deep as your knife blade allows in order to sever all of the connective tissue.
It is a good idea to orient the carcass so that the deer’s head is downhill for this step. This allows the stomach and intestines to shift away from the rear end of the deer and makes it easier to make your circular incision around the deer’s rectum.
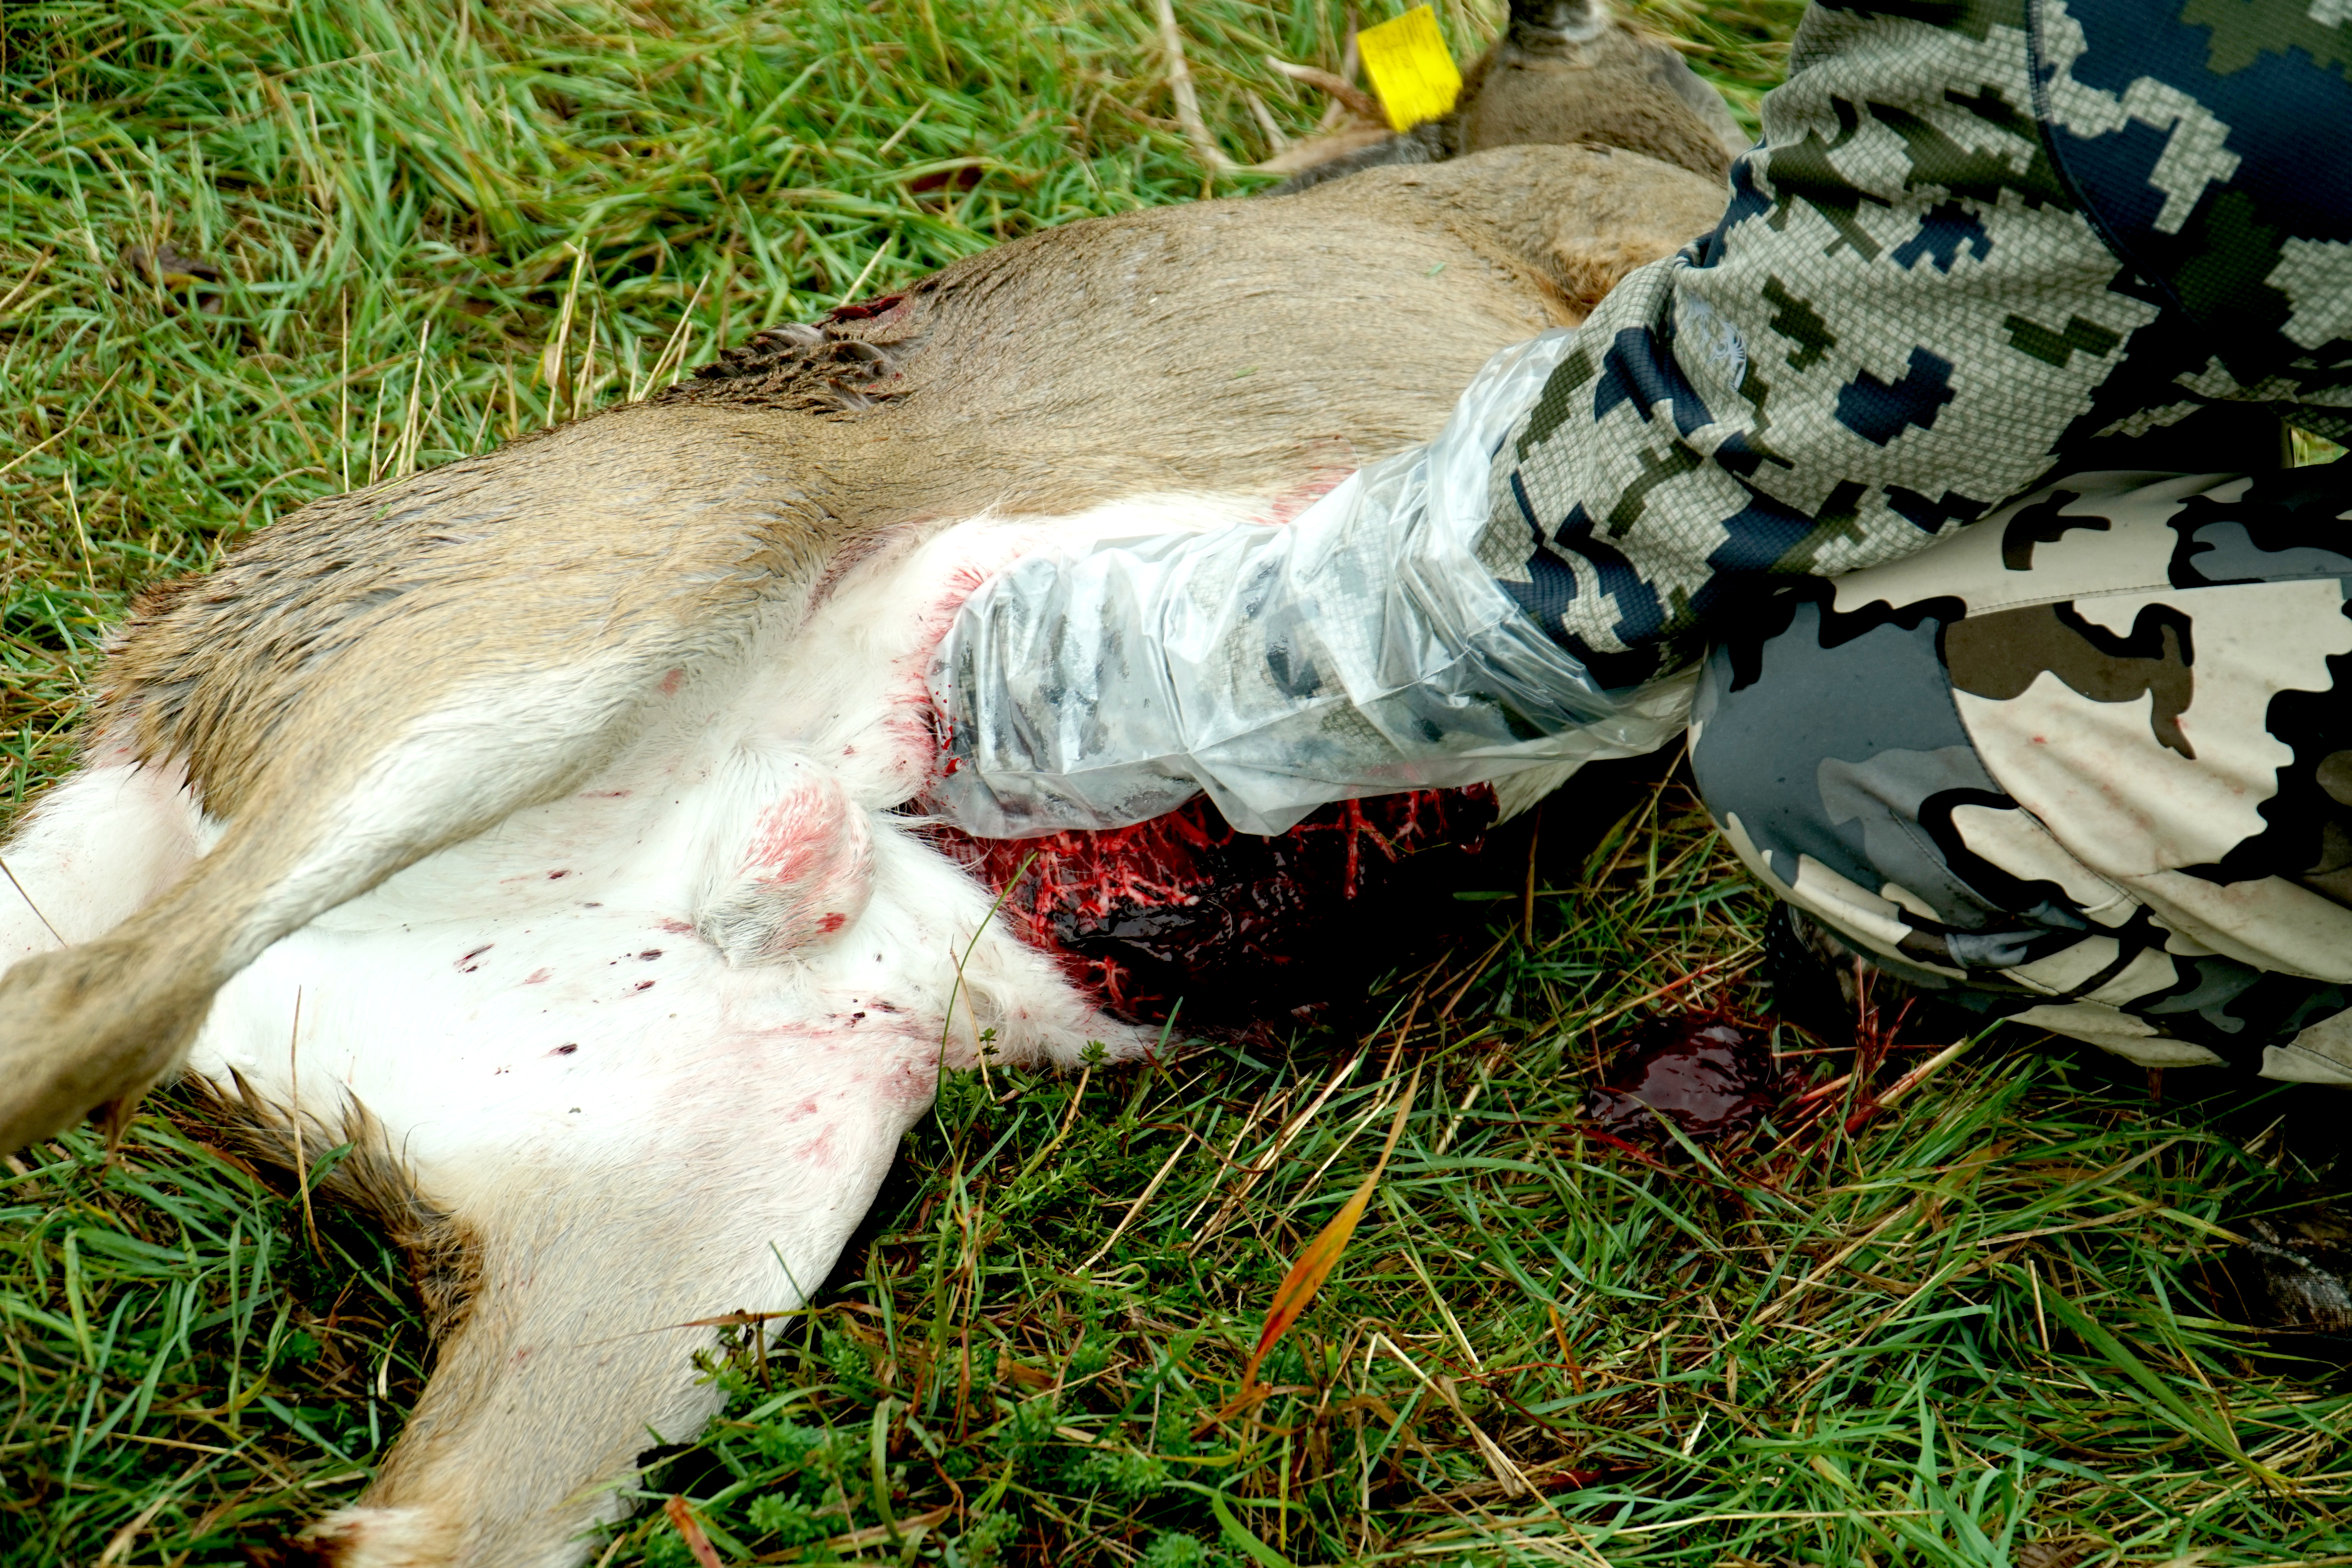
Start Removal of Digestive Organs
With the deer still facing downhill, reach into the body cavity with your gloved hand and follow the wall of the abdomen the whole way up along the deer’s spine. You will be able to break through some connective tissue with your hand.
As you go up along the spine and down the other side of the abdomen with your hand, you will be able to take hold of the end of the large intestine and pull it back through into the body cavity of the deer.
If you feel a lot of resistance, it could be an indication that your incision you made around the rectum didn’t cut through all of the connective tissue, so you might need to do some more cutting with your knife and then attempt this step again.
Once you’ve completed this step turn the deer carcass so the head is facing uphill.
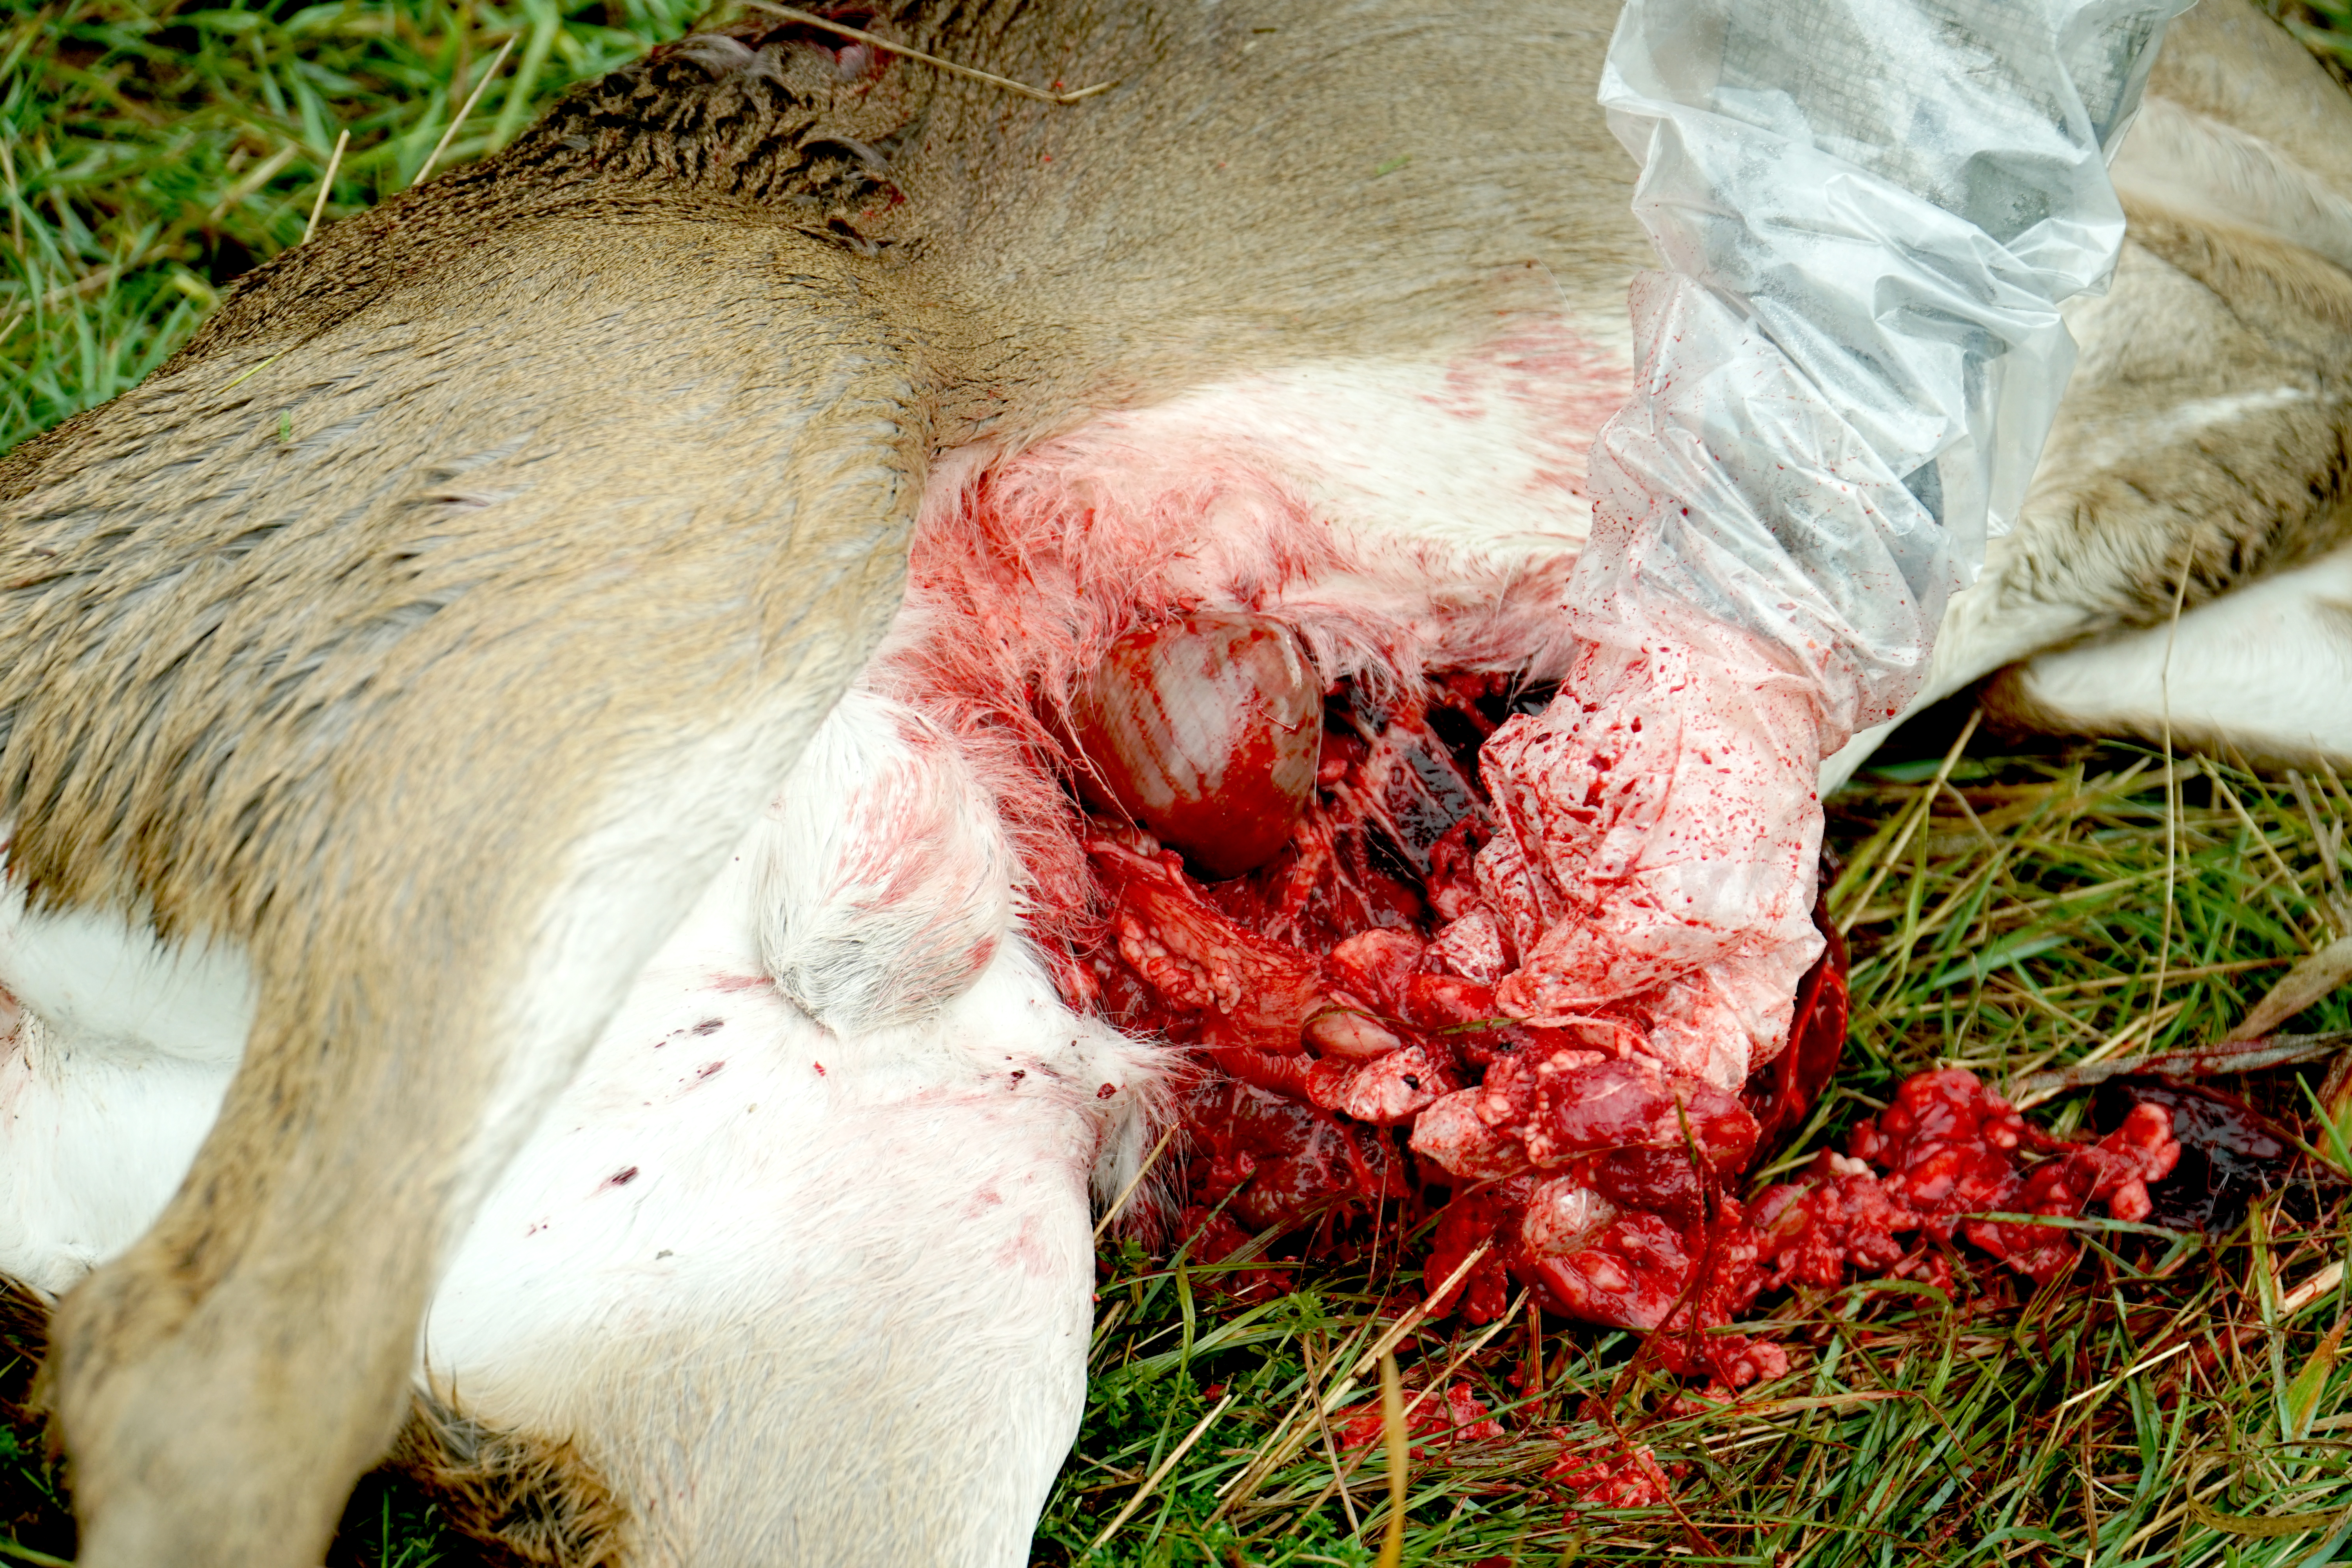
Remove the Stomach
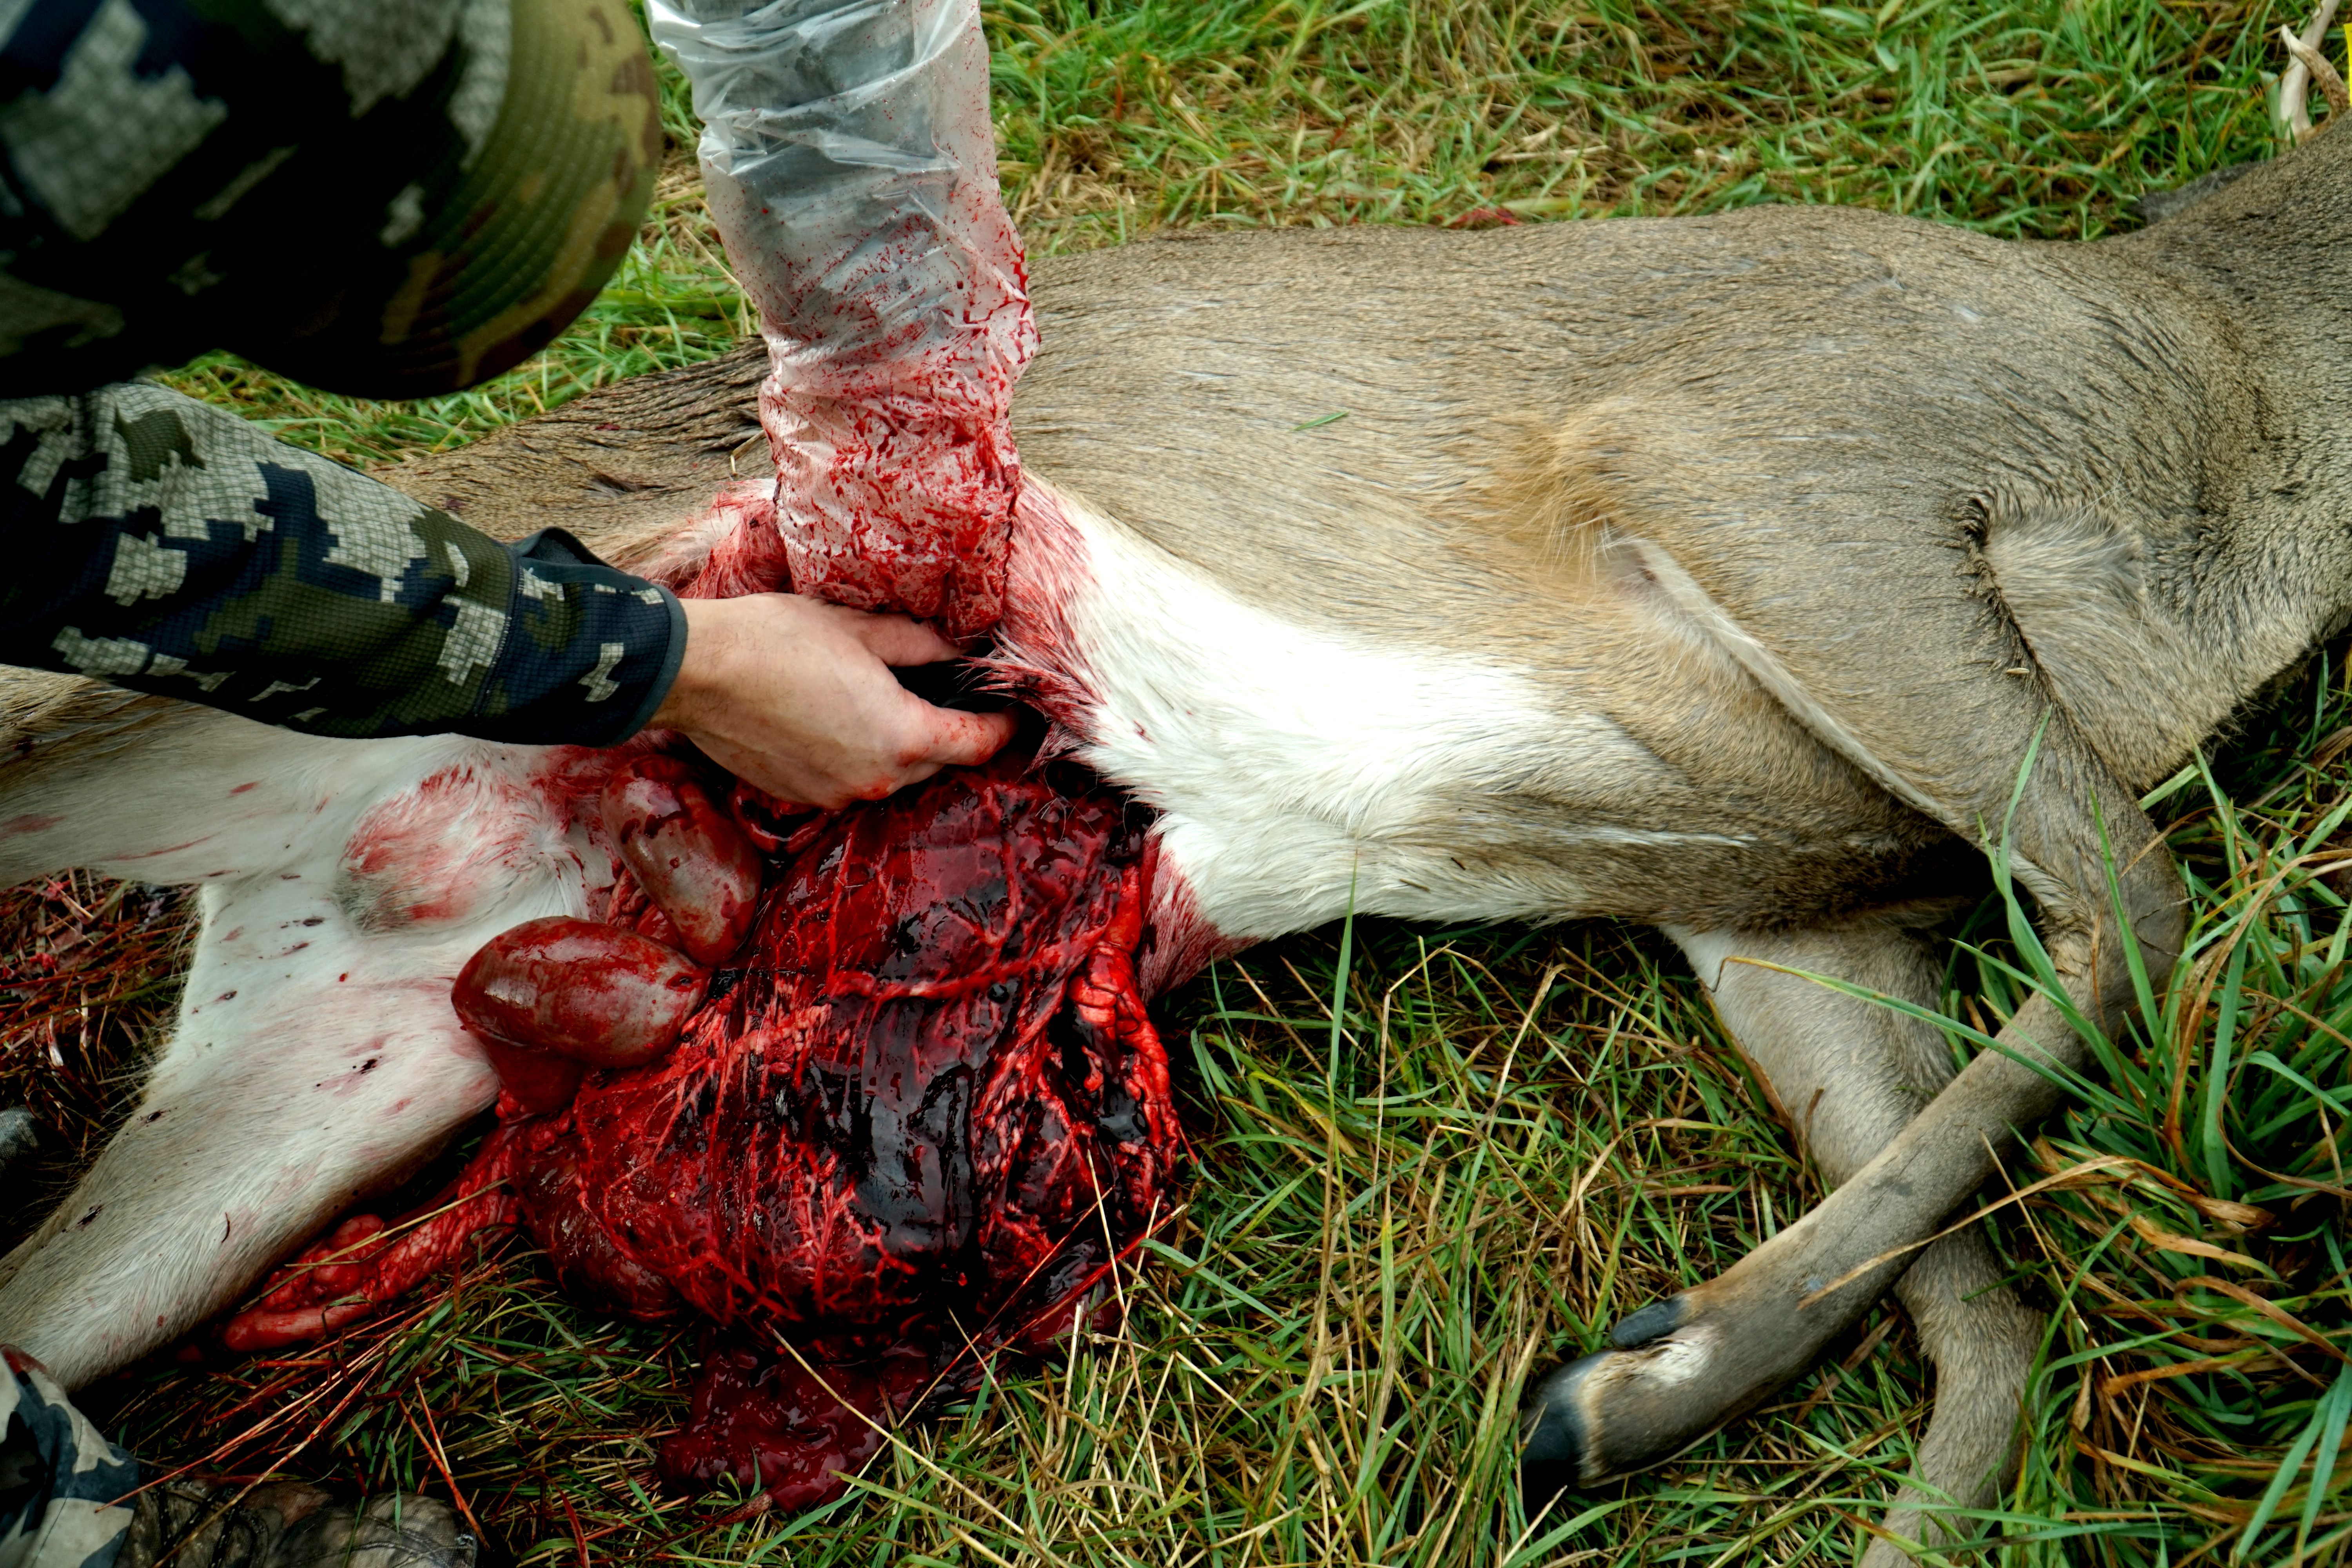
Once the deer is facing uphill, you will want to begin gently removing the stomach and intestines in one piece. Reach into the body cavity and put your hand up and around the soft organs and begin rolling them out of the body cavity. Gravity will help you if you’ve positioned the deer facing uphill.
There will be some tissue that you will need to break free with your gloved hand at the top of the abdominal cavity. Once this is free, the stomach and intestines will be able to be removed from the carcass. You will also see the liver, near the front of your abdominal incision.
Cut through the diaphragm and complete organ removal
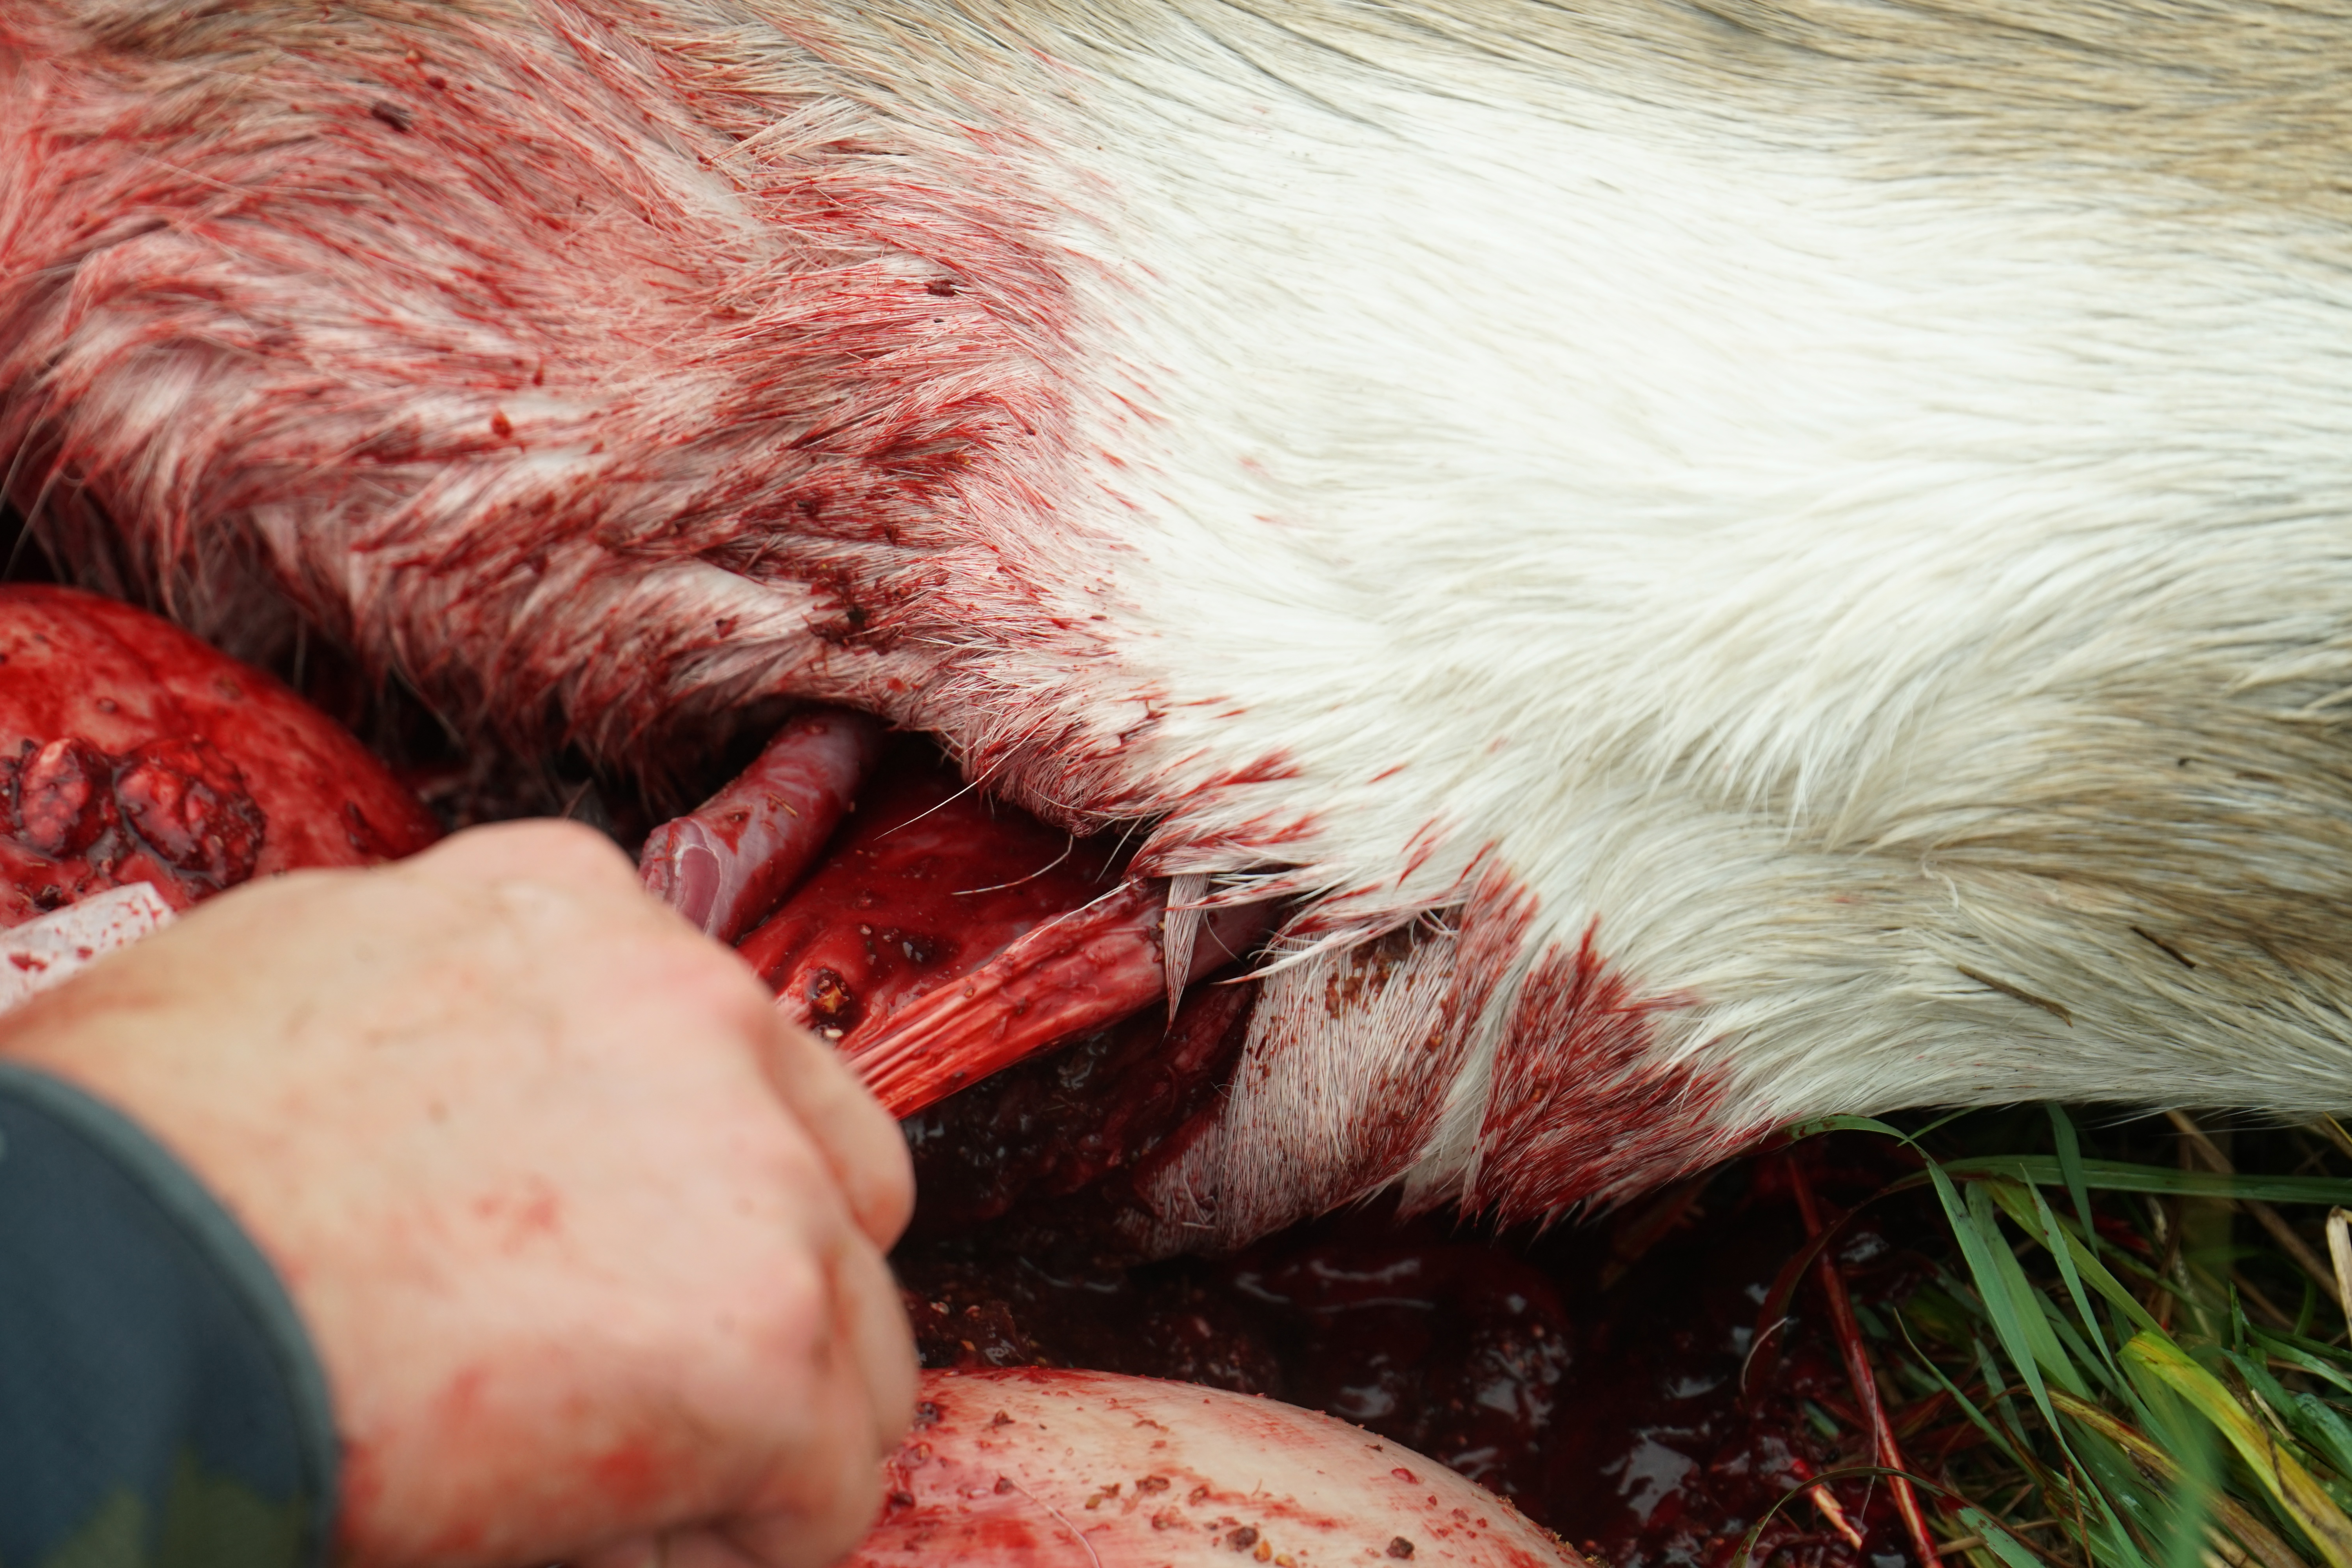
Moving your hand along the top of the liver, you will feel be able to feel the deer’s diaphragm. This will feel like a thin wall of tissue spanning the chest cavity between the ribcage. Carefully slide your knife into the body cavity and cut through the diaphragm while using your gloved hand to maintain tension on the liver and stomach organs.
As you continue to cut through the diaphragm you will feel the organs releasing from the carcass. Cut through the last of the connective tissue and muscles holding the organs in the deer and the stomach and liver will be free from the carcass.
Some hunters choose to save the liver, and if you wish to do so, have a clean plastic bag to place it in after you remove it from the gut pile. 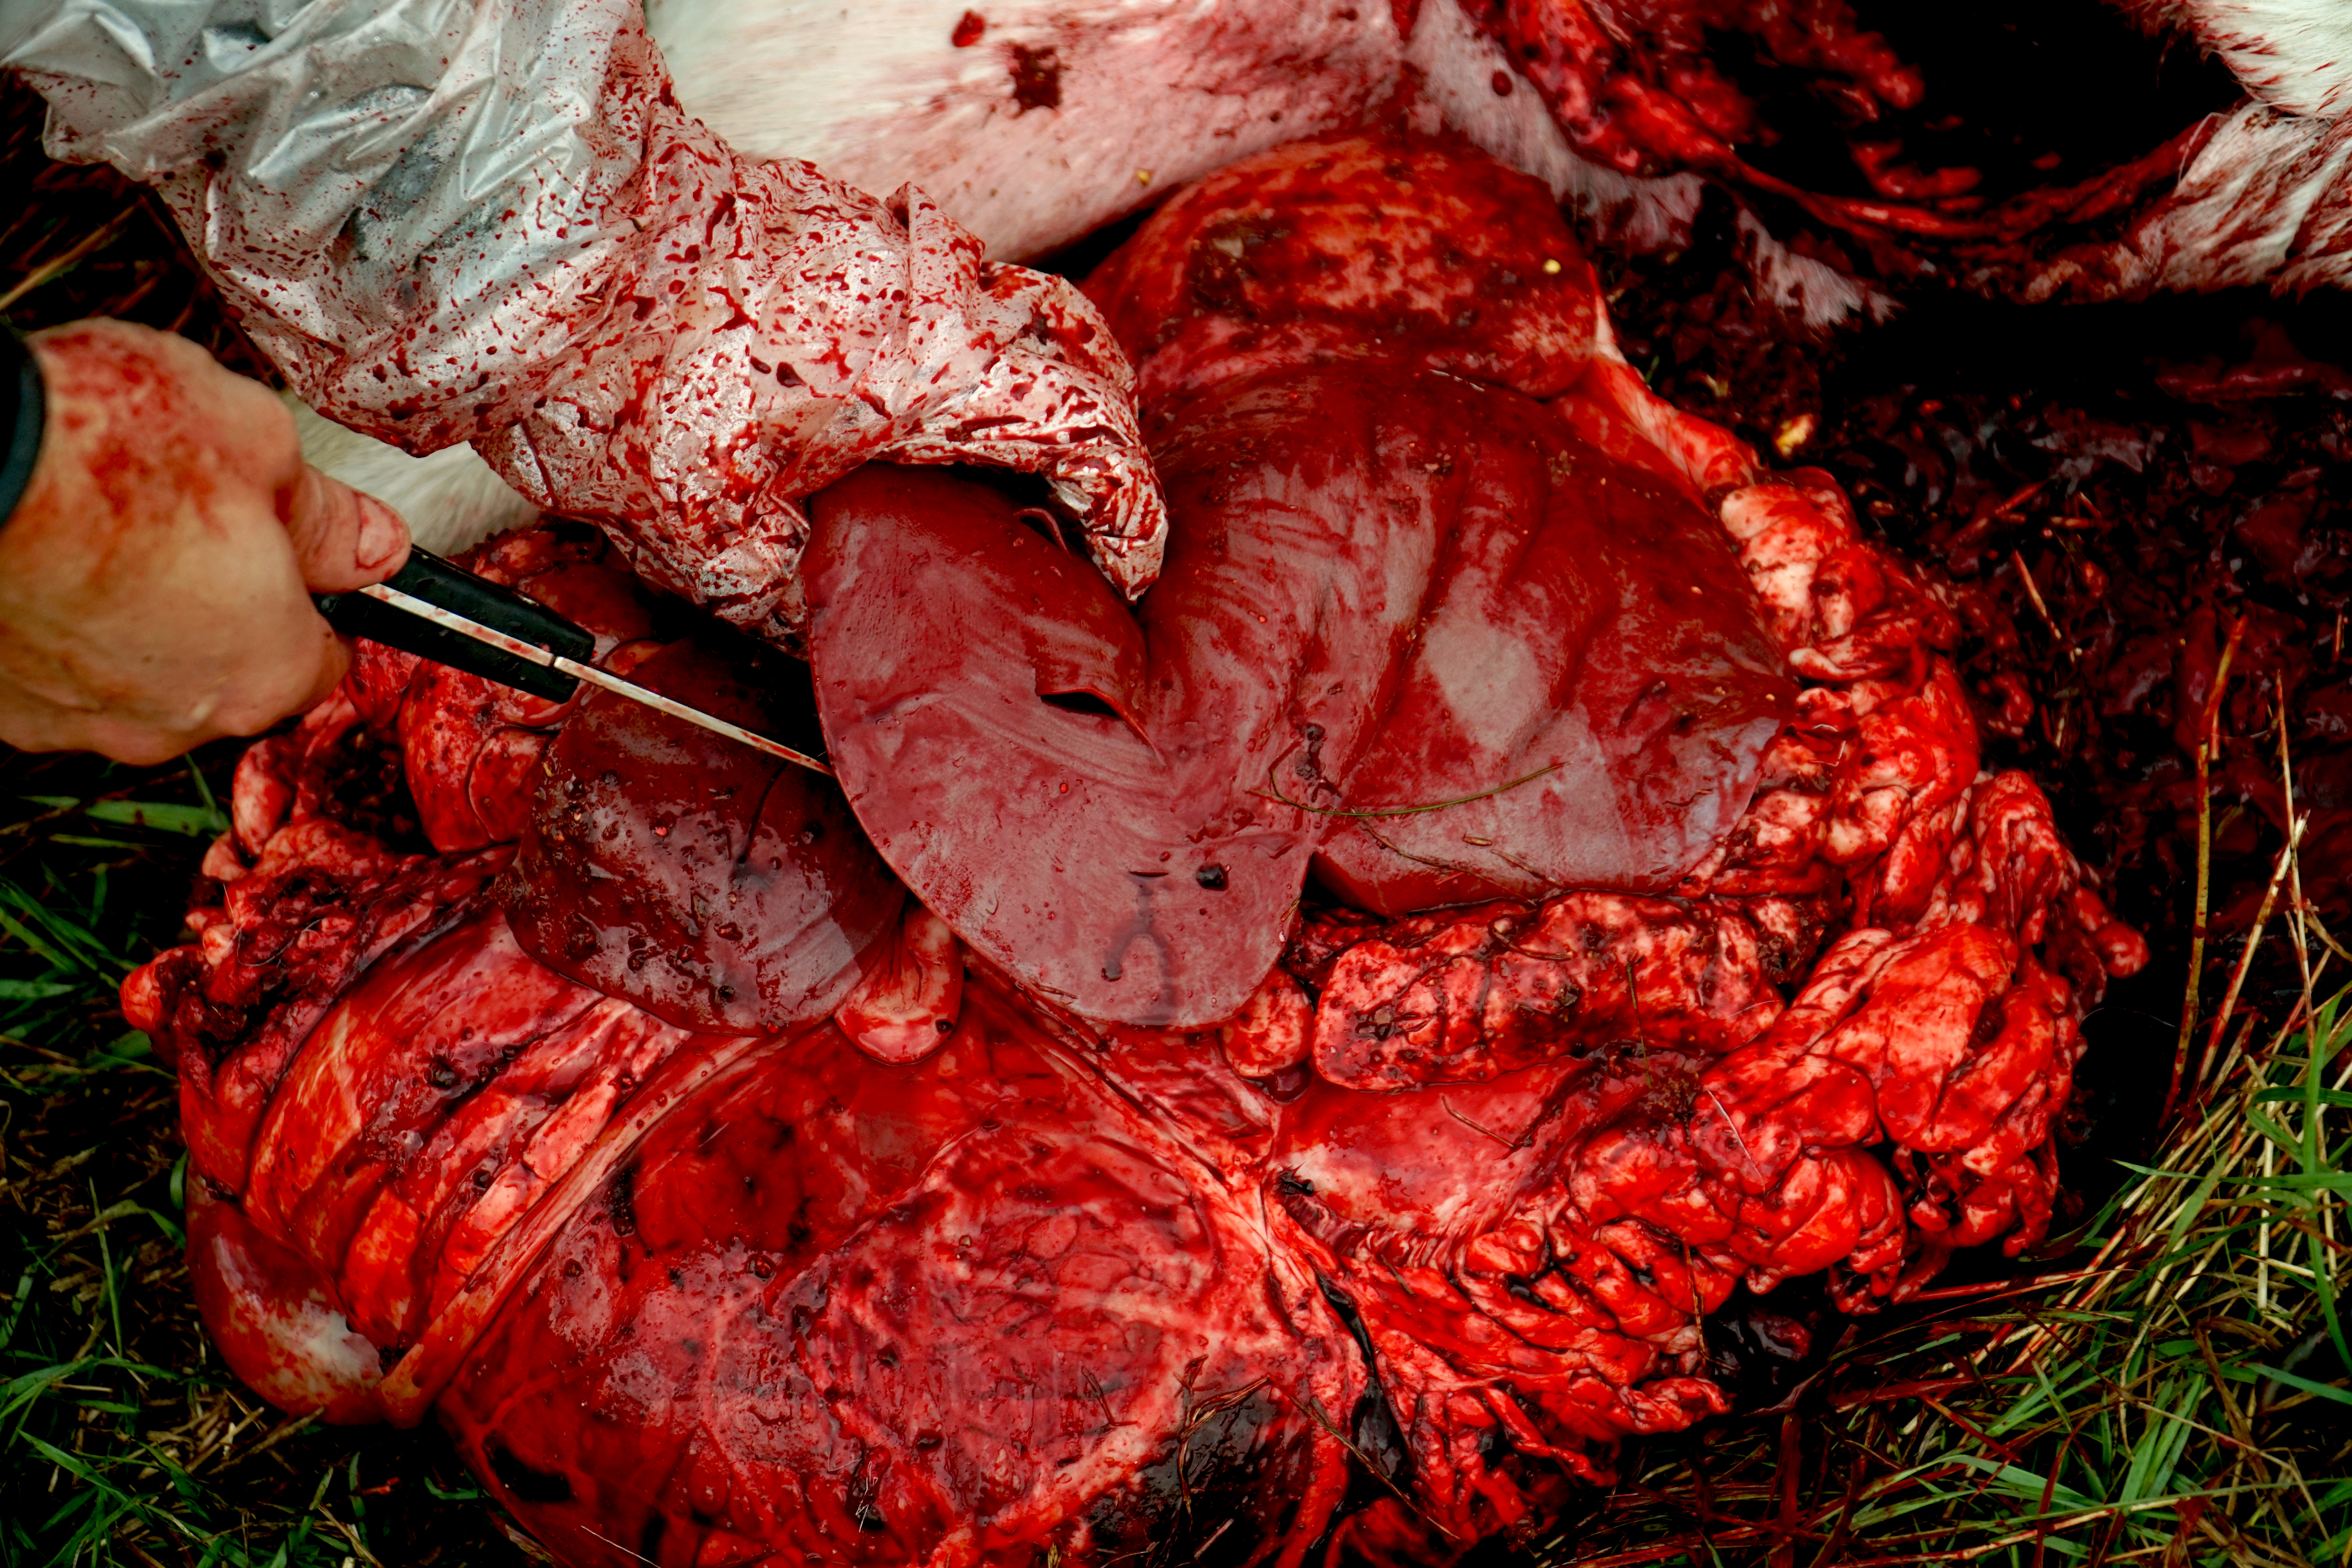
Drain the Carcass
The stomach organs need to be removed from the deer as quickly as possible to avoid spoiling the carcass, but the heart, lungs, and esophagus can be more easily removed during the skinning and processing of your game animal.
So, at this point, you are ready to drain any of the blood that has collected inside the body cavity.
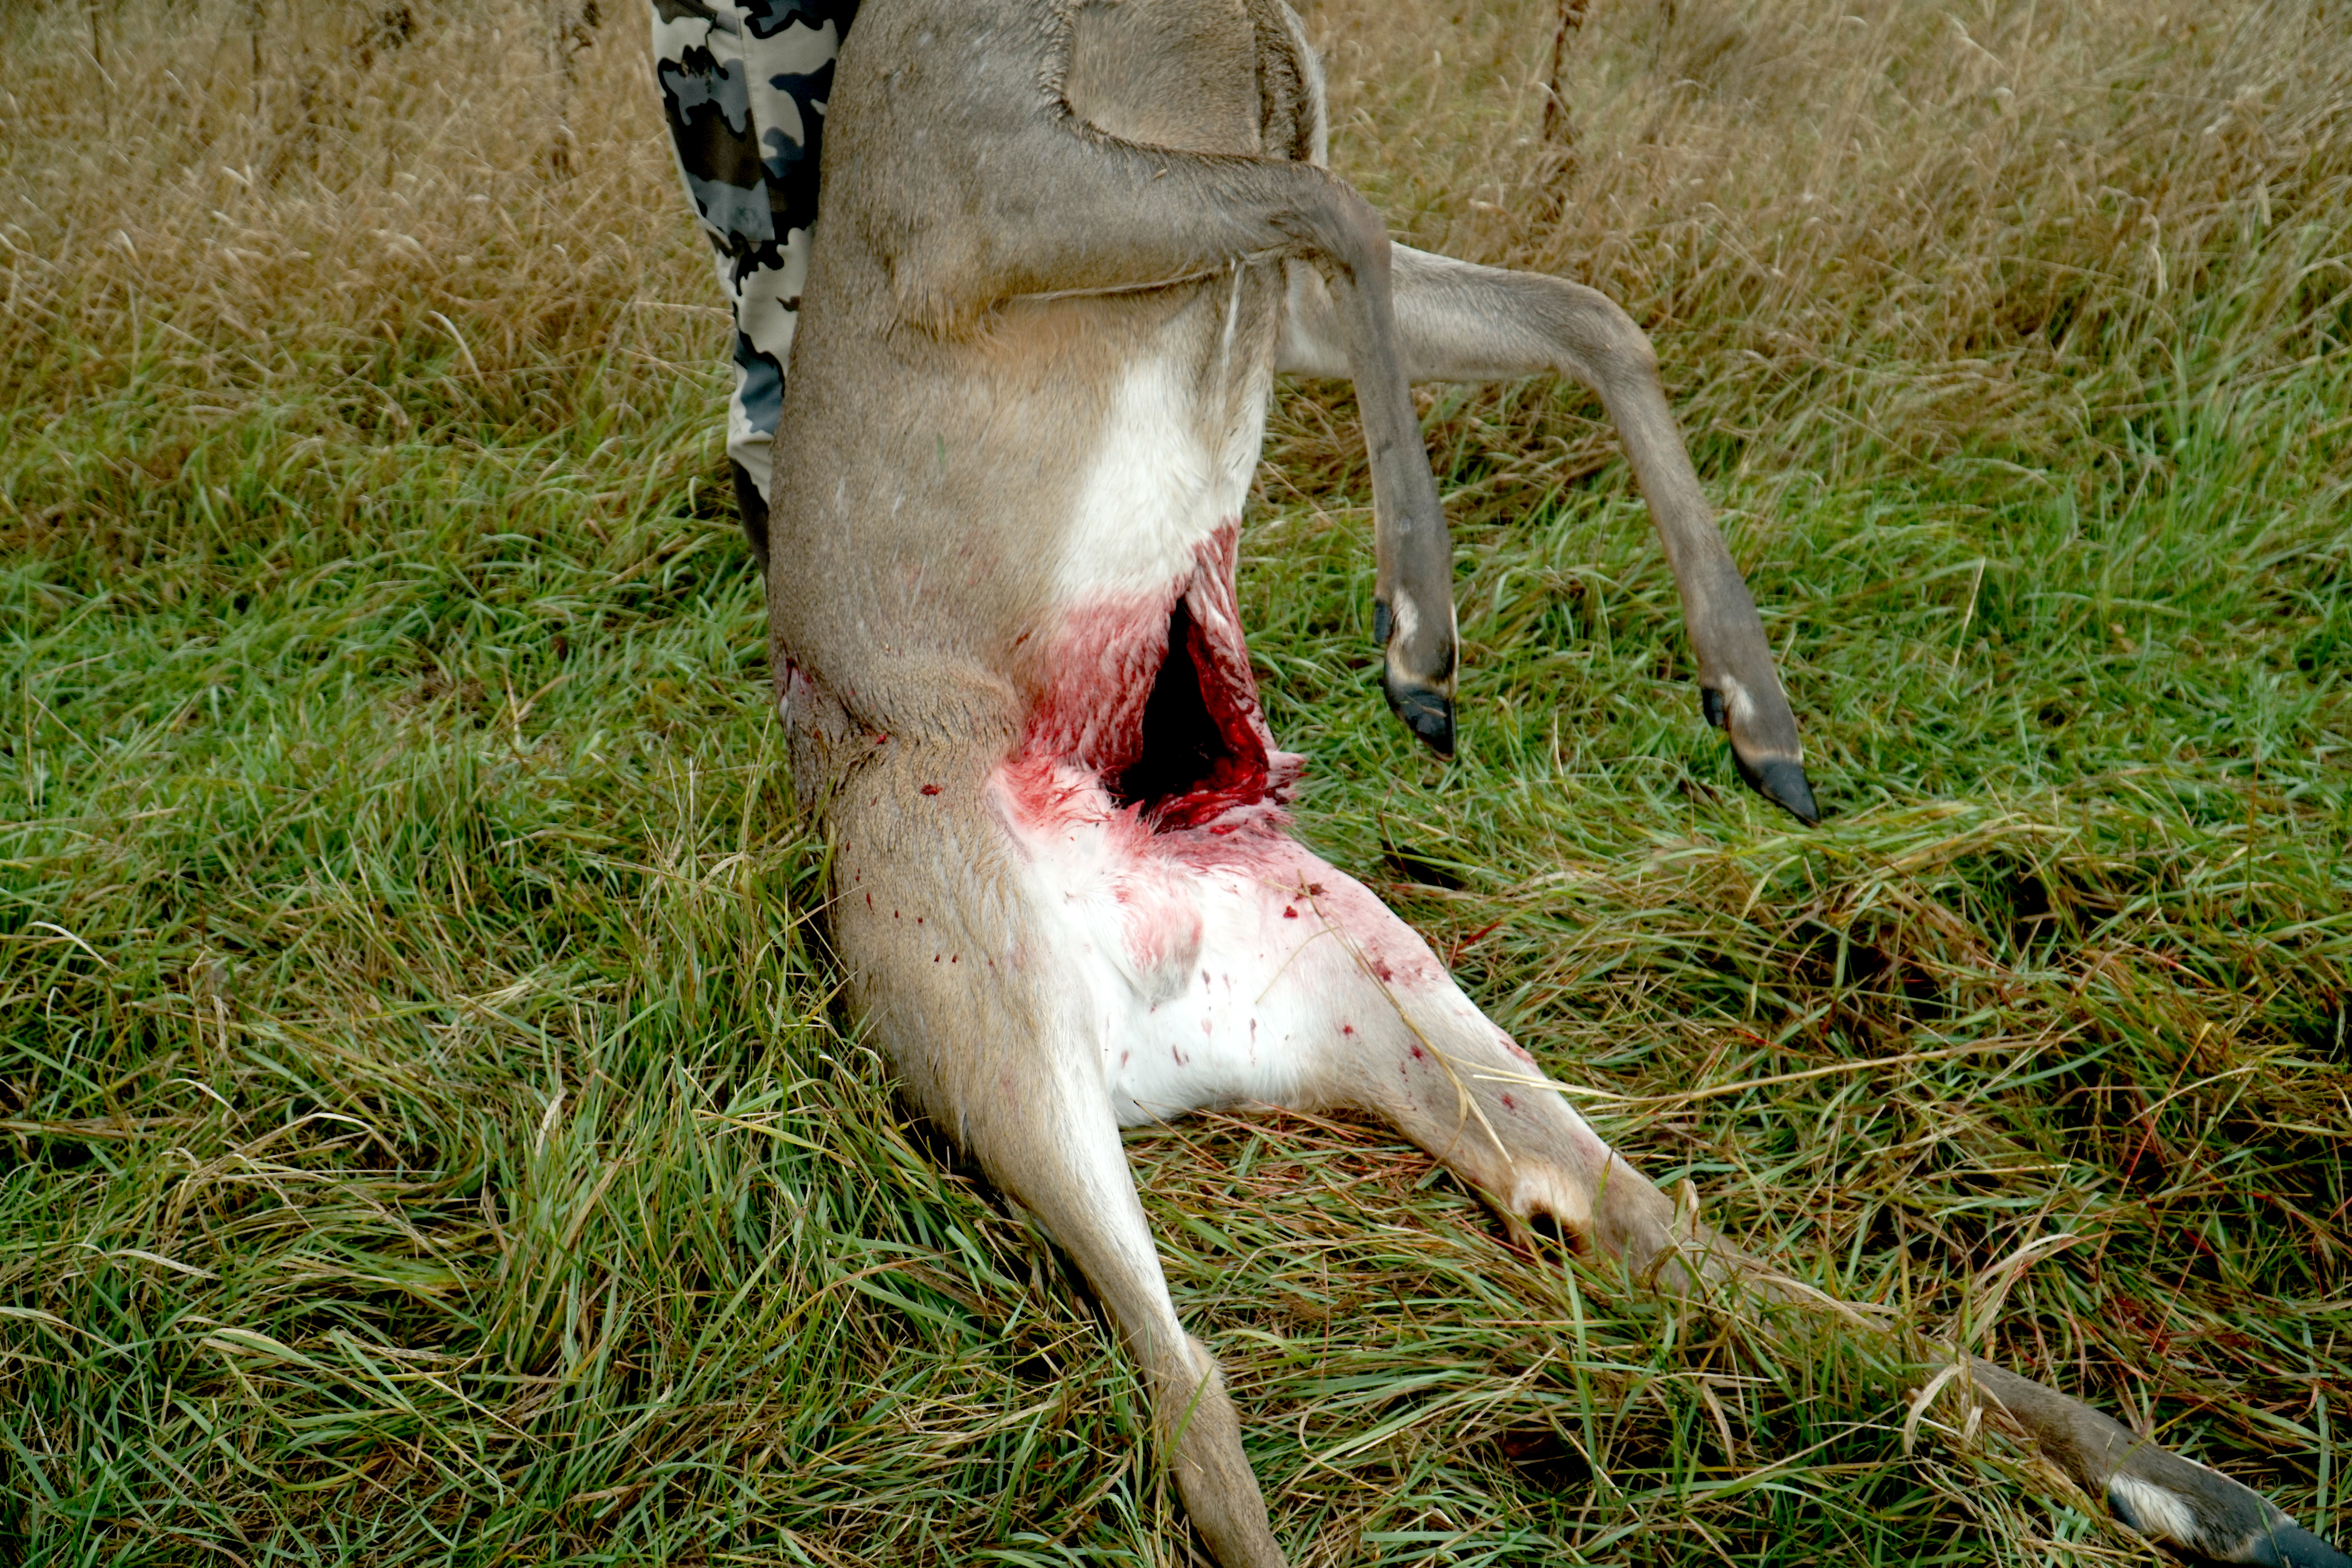
With the deer’s head facing uphill, use the antlers, or the front legs, to lift the front half of the deer off the ground if you are physically able to do so. This will allow any excess blood and clots to flow from the body cavity and out the rectal incision that was made earlier in the process.
This will help to keep the carcass cleaner when you go to do further game processing, and it will also help to keep your truck bed or 4-wheeler from getting as bloody.
Clean up
Before finishing the clean-up process, some hunters choose to open the stomach of the deer to learn more about what they are feeding on at that time of year to give them some Most Recent Information (MRI) to pursue other deer in the area.
If you’ve done the job of field dressing correctly, there should be minimal amounts of clean up necessary.
Wipe your knife off in some leaves or grass as best as possible, and take off your gutting sleeve by pulling it off your arm so it ends up inside out, with all the blood contained on the inside of the glove.
If you have a plastic bag in your pack, you can put the used glove in it, or you can put the glove in the deer’s body cavity and throw it out back at camp.
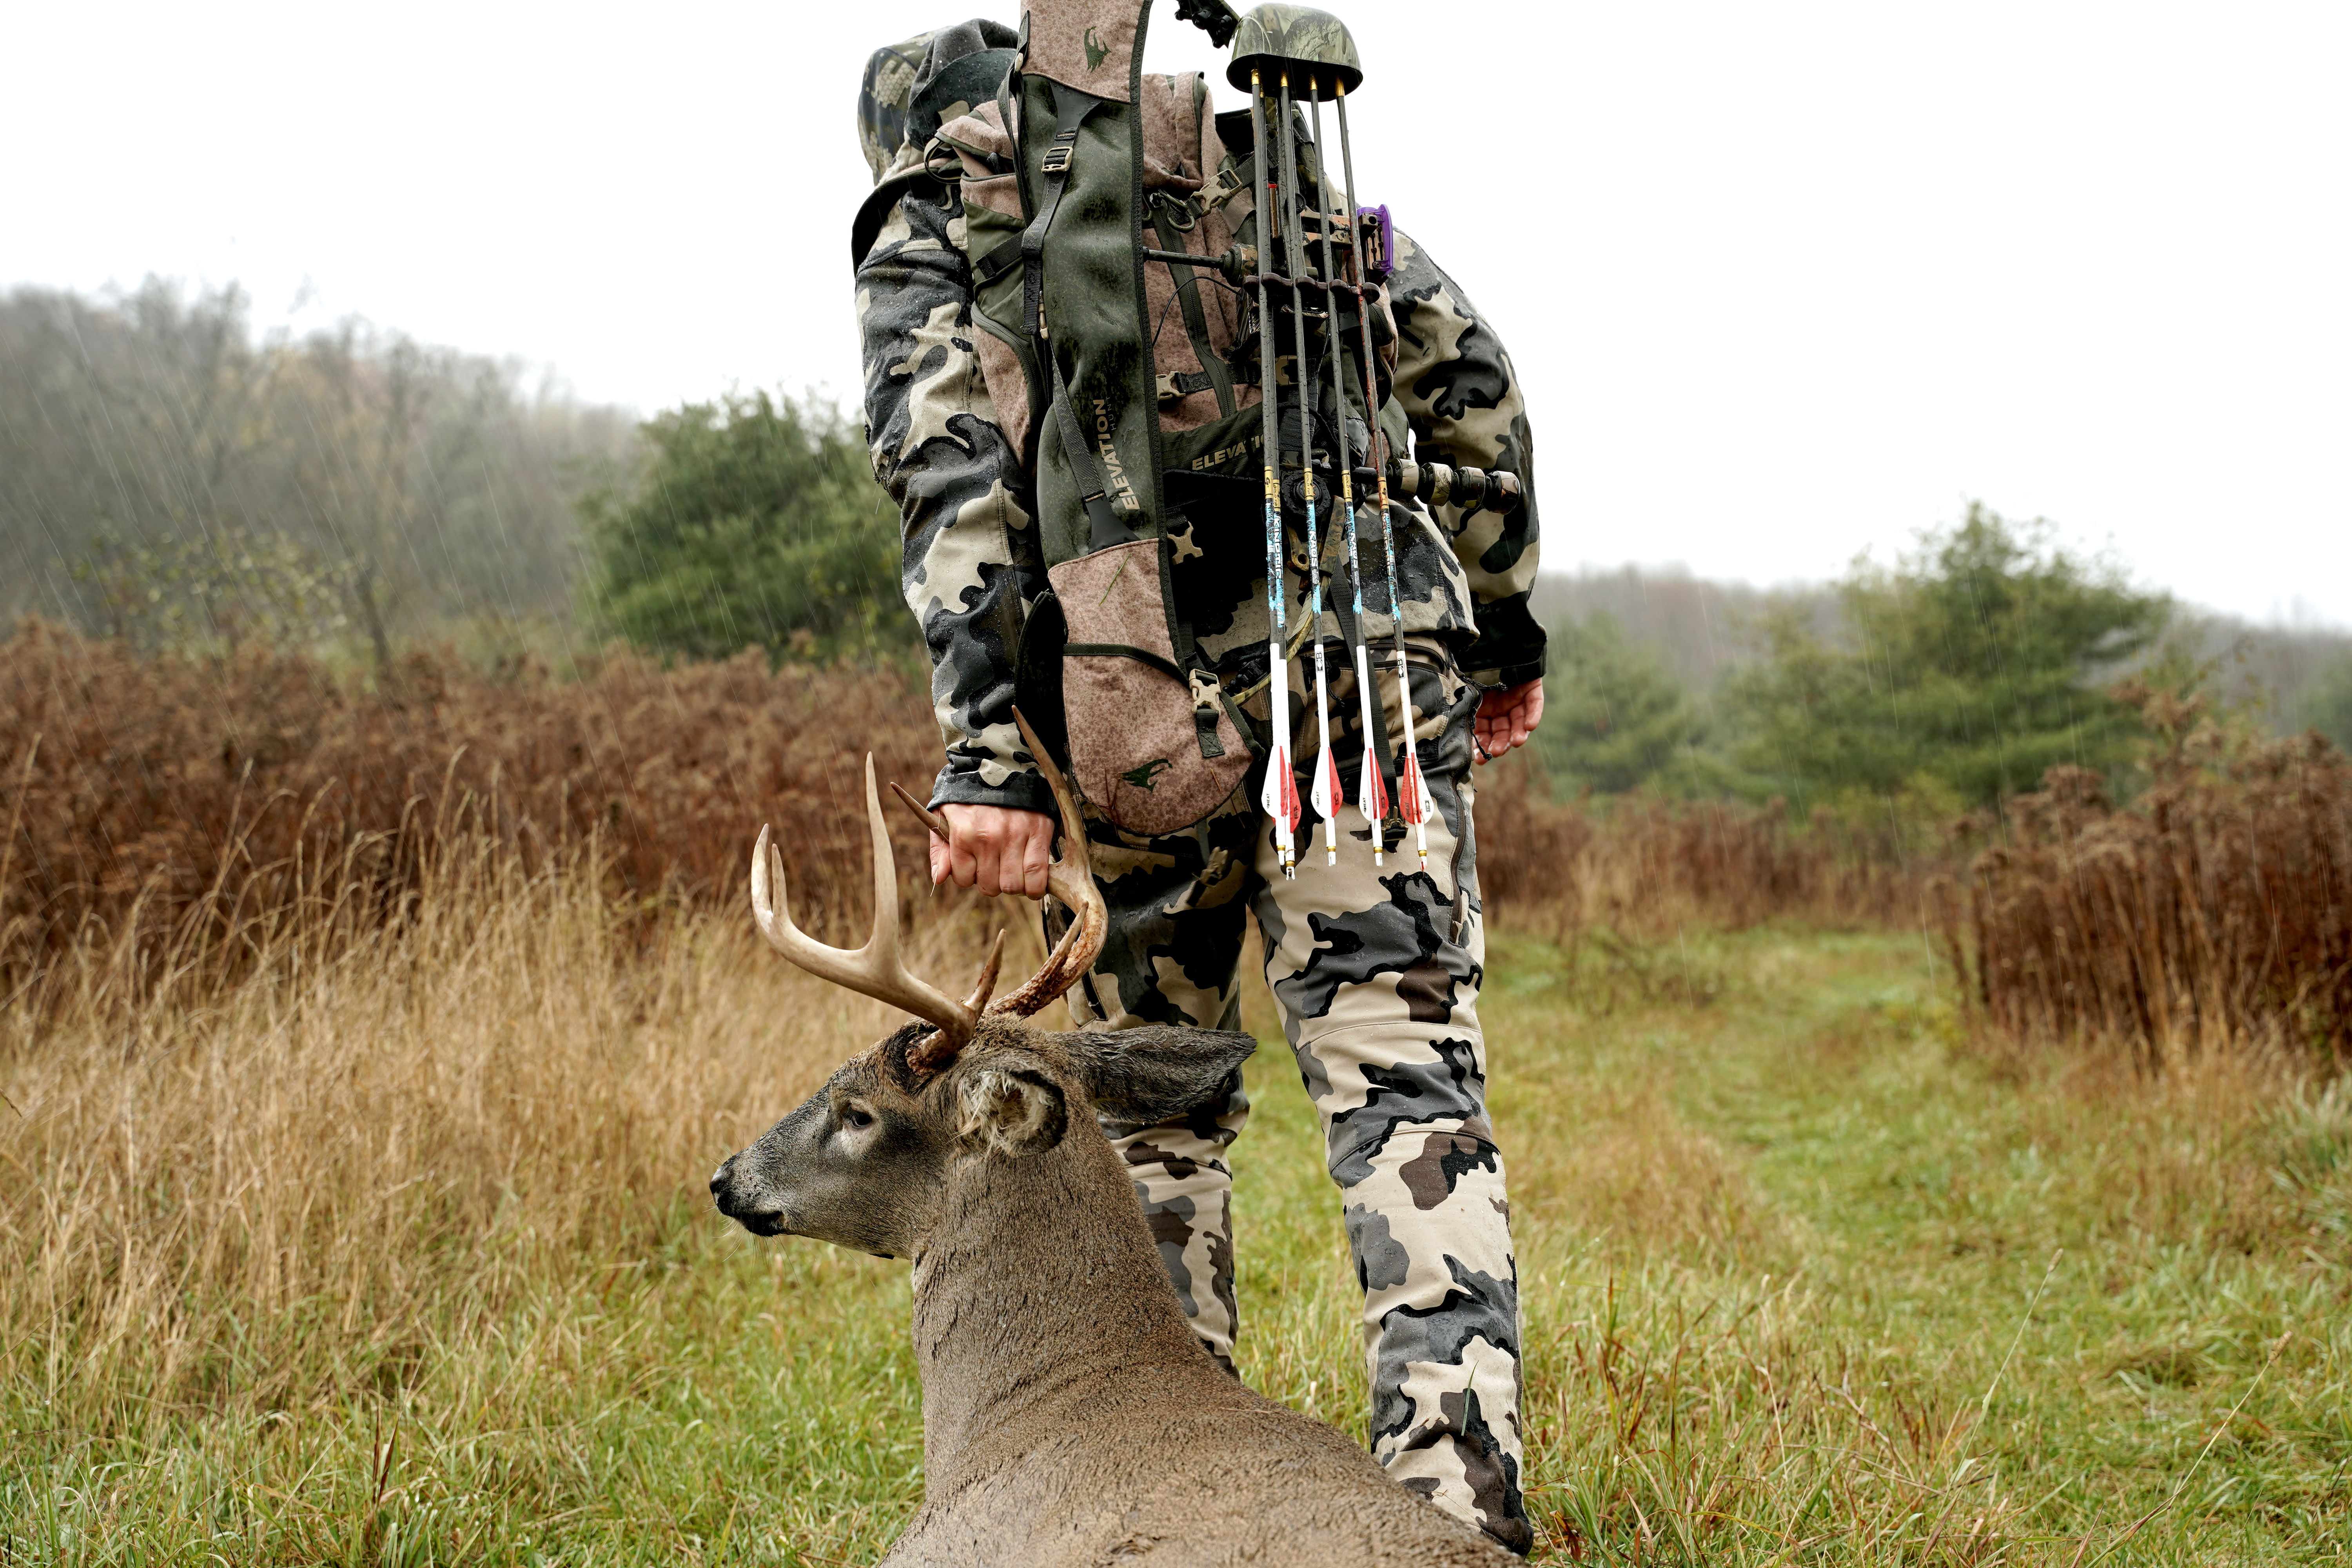
Remove the carcass from the field and hang the deer up
Once you’ve removed the deer from the field, you will want to have a place to hang the carcass. In the case of an early-season archery kill, you will likely need to get the carcass to a processor quickly or cut the deer up yourself within a short period of time.
Deer are easiest to skin when they are still warm, so if you are going to process the meat yourself, it is a good idea to get some pictures of your harvest and then skin it as soon as possible.
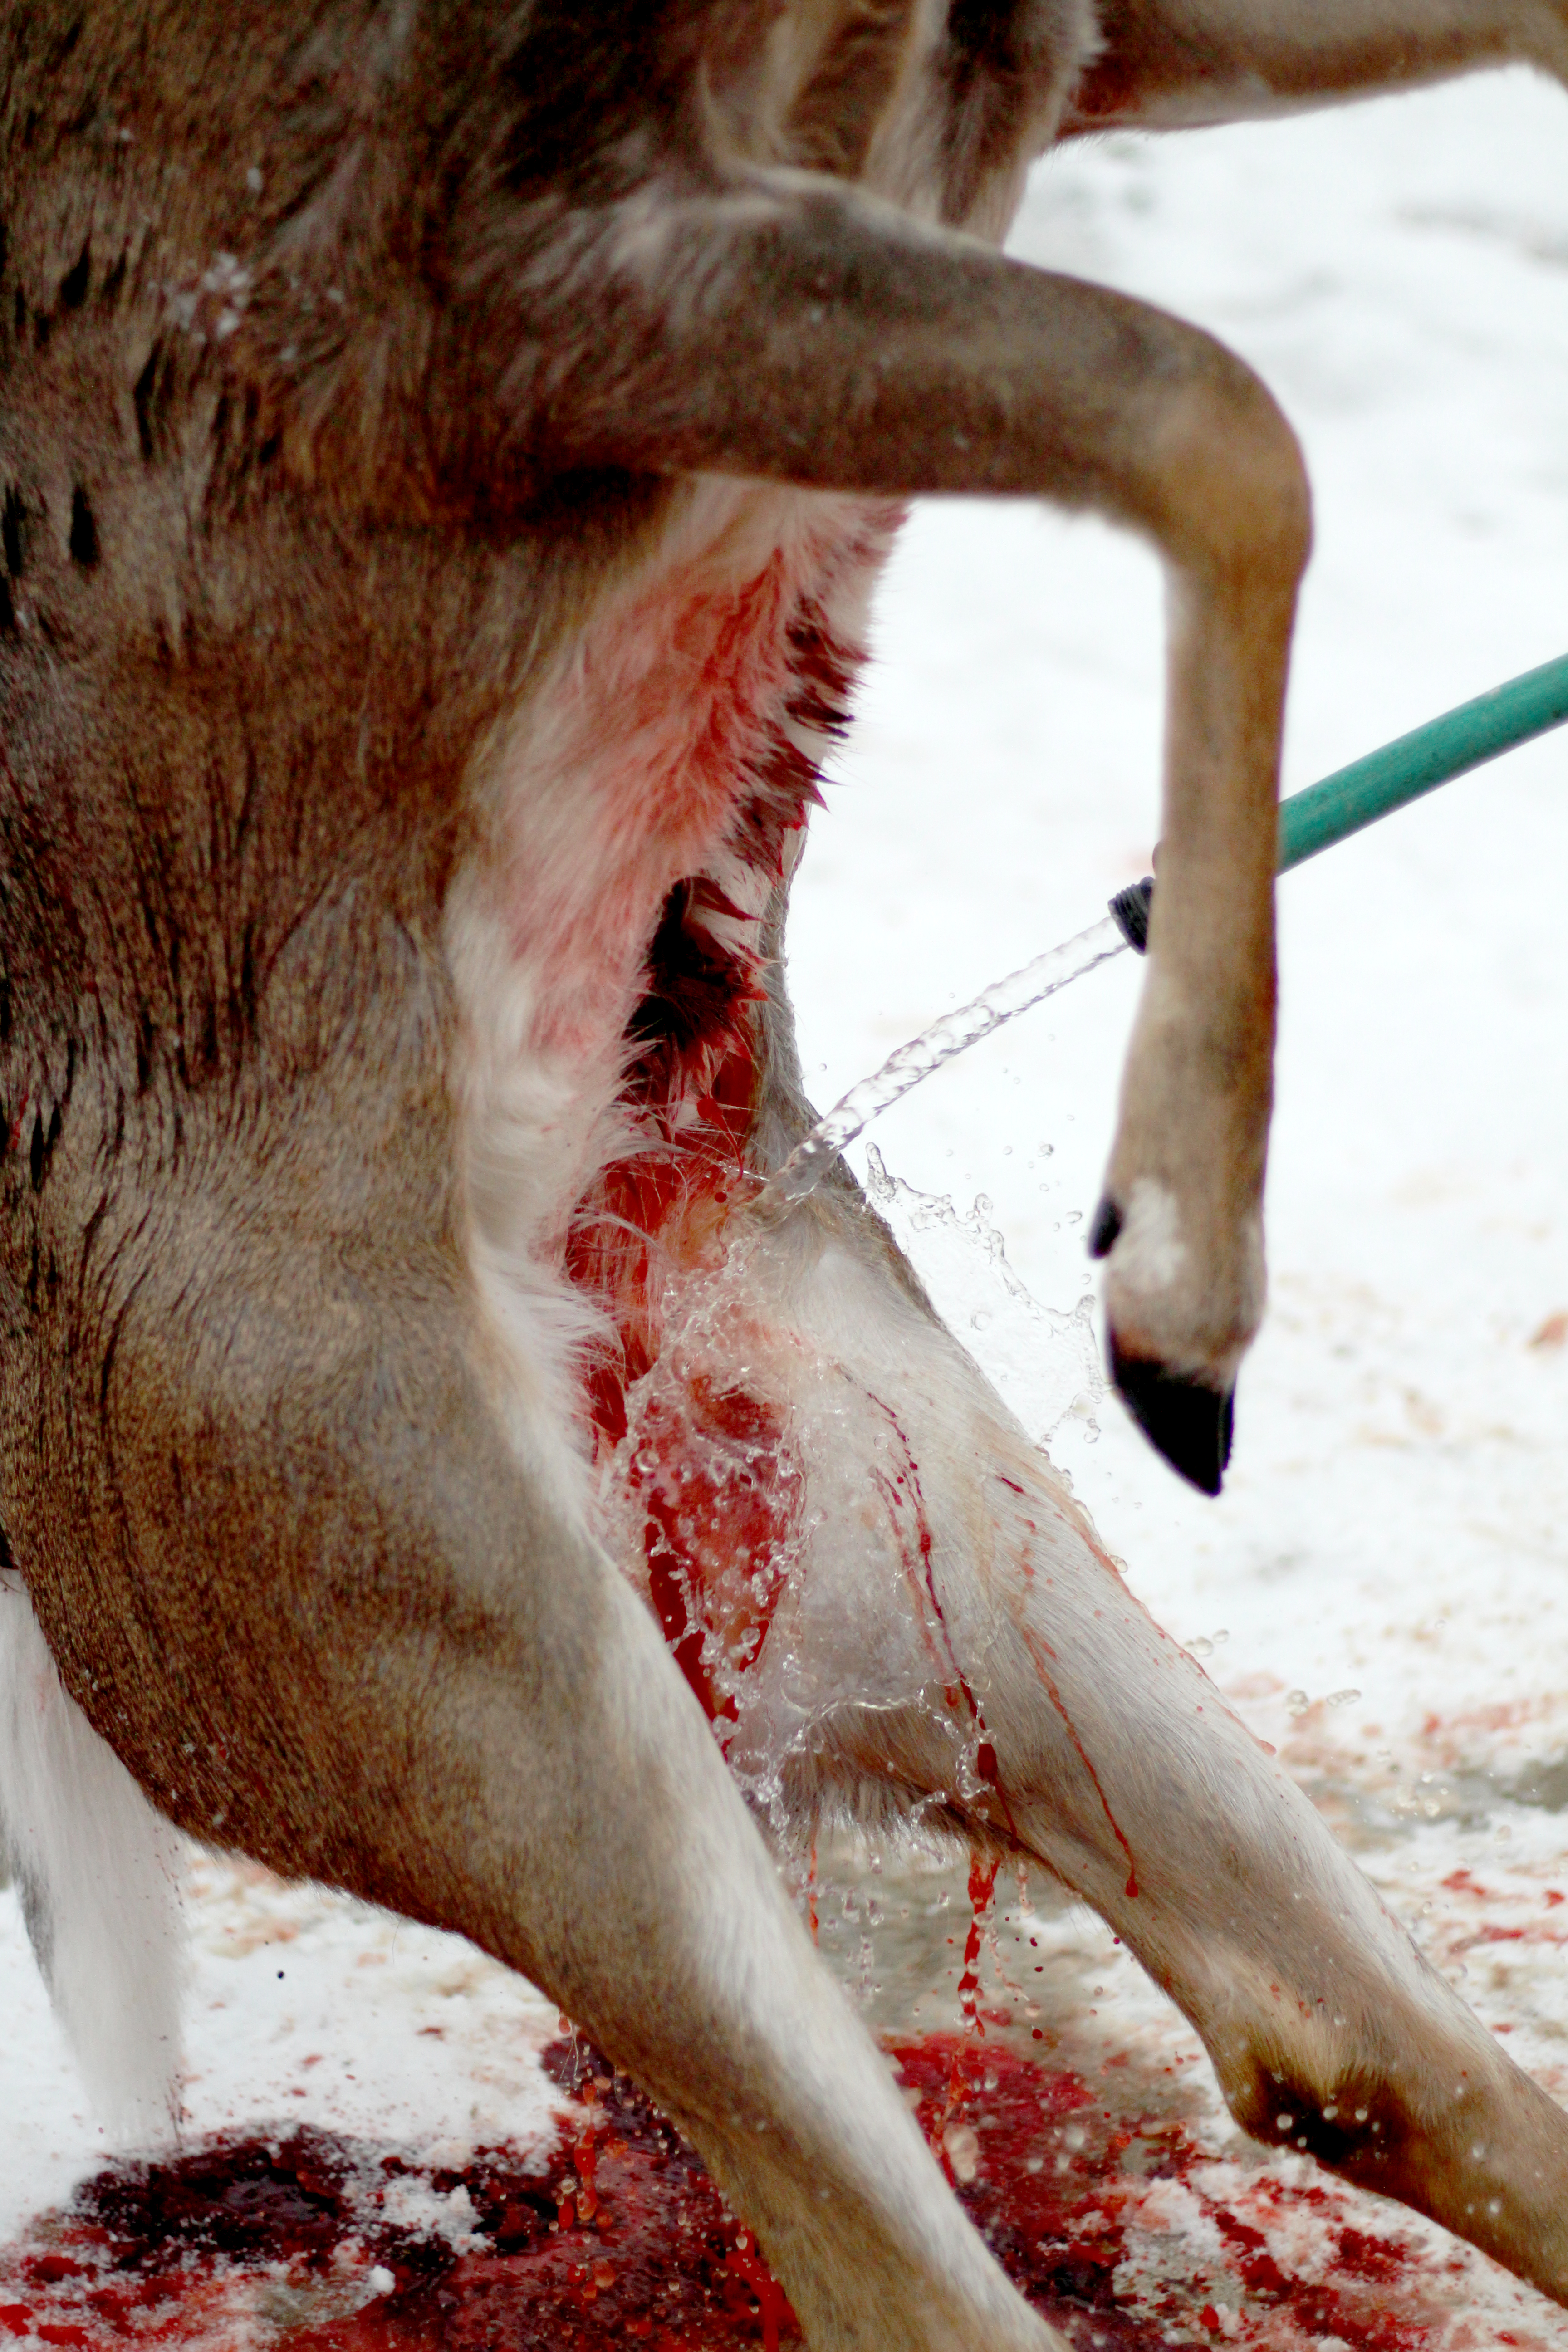
If you have running water available and a place to rinse the deer, it is a good idea to thoroughly hose out the body cavity, especially if the stomach was punctured during the shot or accidentally during the field dressing process.
If you will be taking it to a game processor, but sure to hang it in a cool place, upside down, until you can deliver it.
Hanging the deer upside will ensure that gravity will drain much of the additional blood that is still in the carcass, through the deer’s nose and mouth cavity- ensuring the best tasting meat possible.
How To Field Dress a Deer Recap
In addition to reviewing the steps above, it is important that you familiarize yourself with the anatomy of a deer so that you can better visualize where the internal organs are positioned, both for shot placement purposes and for easier field dressing.
Field dressing is an important part of your success in the field, so be sure to have the proper tools at your disposal and take the appropriate steps to preserving and processing your harvest.
Make sure to check out our full Elevation HUNT line for all the Above Standard products that’ll help you elevate your bowhunting.
For more archery and hunting-related content, be sure to check out our other blog posts at Elevation’s blog here.
Finally, make sure to connect with us on Facebook, Instagram, and YouTube for new product news, releases, promotions, and product giveaways!
Posted in Blog